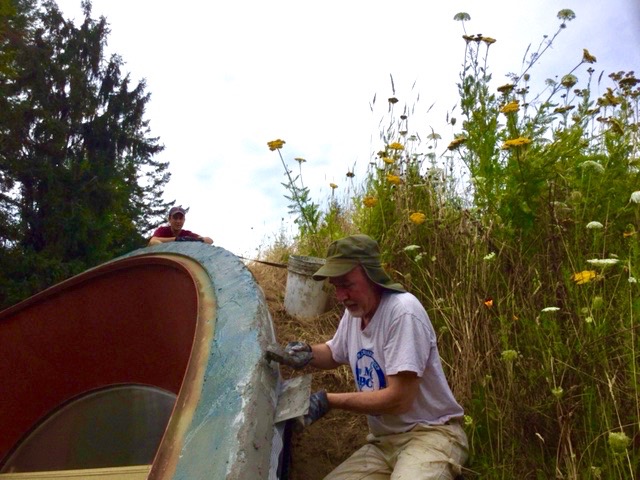
As you may know, I am still recovering from a shoulder injury ( picking up one too many 90 Lb. Bags of mortar). I am happy to report that my shoulder is much better. I still have a ways to go before I’m 100% but I’m gettingbetter and stronger. We have been able to make a little progress on smaller projects.
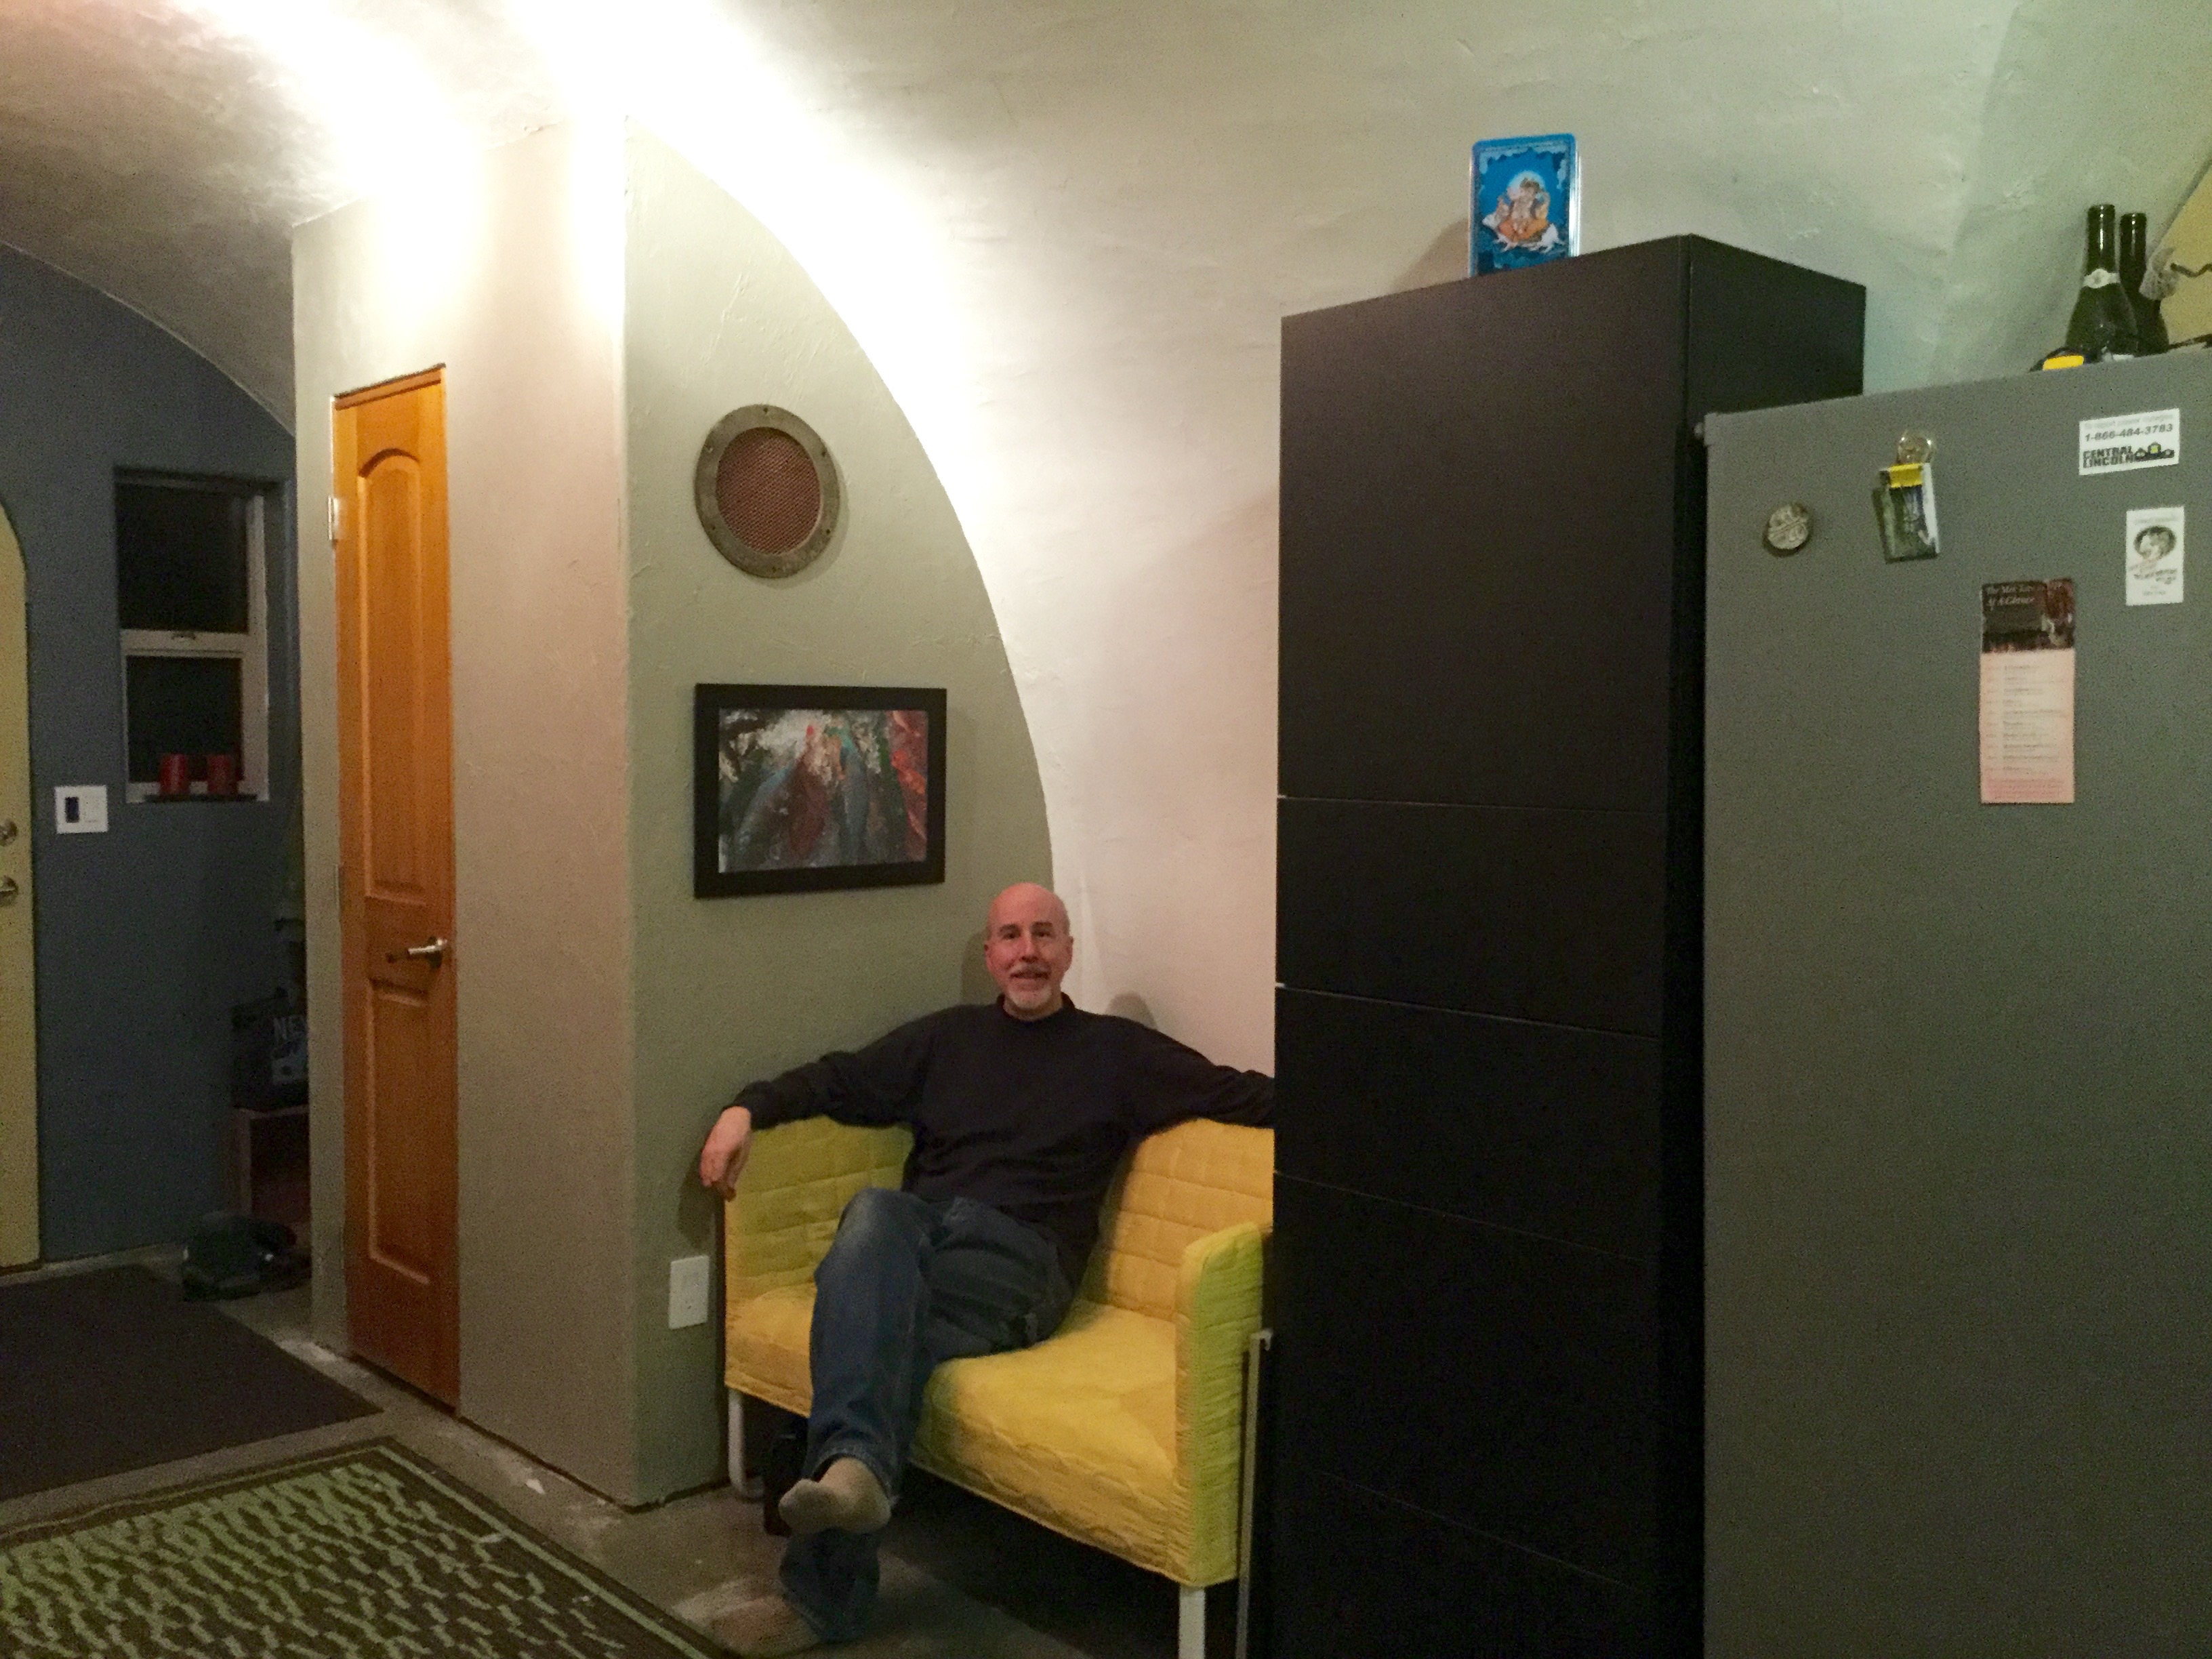
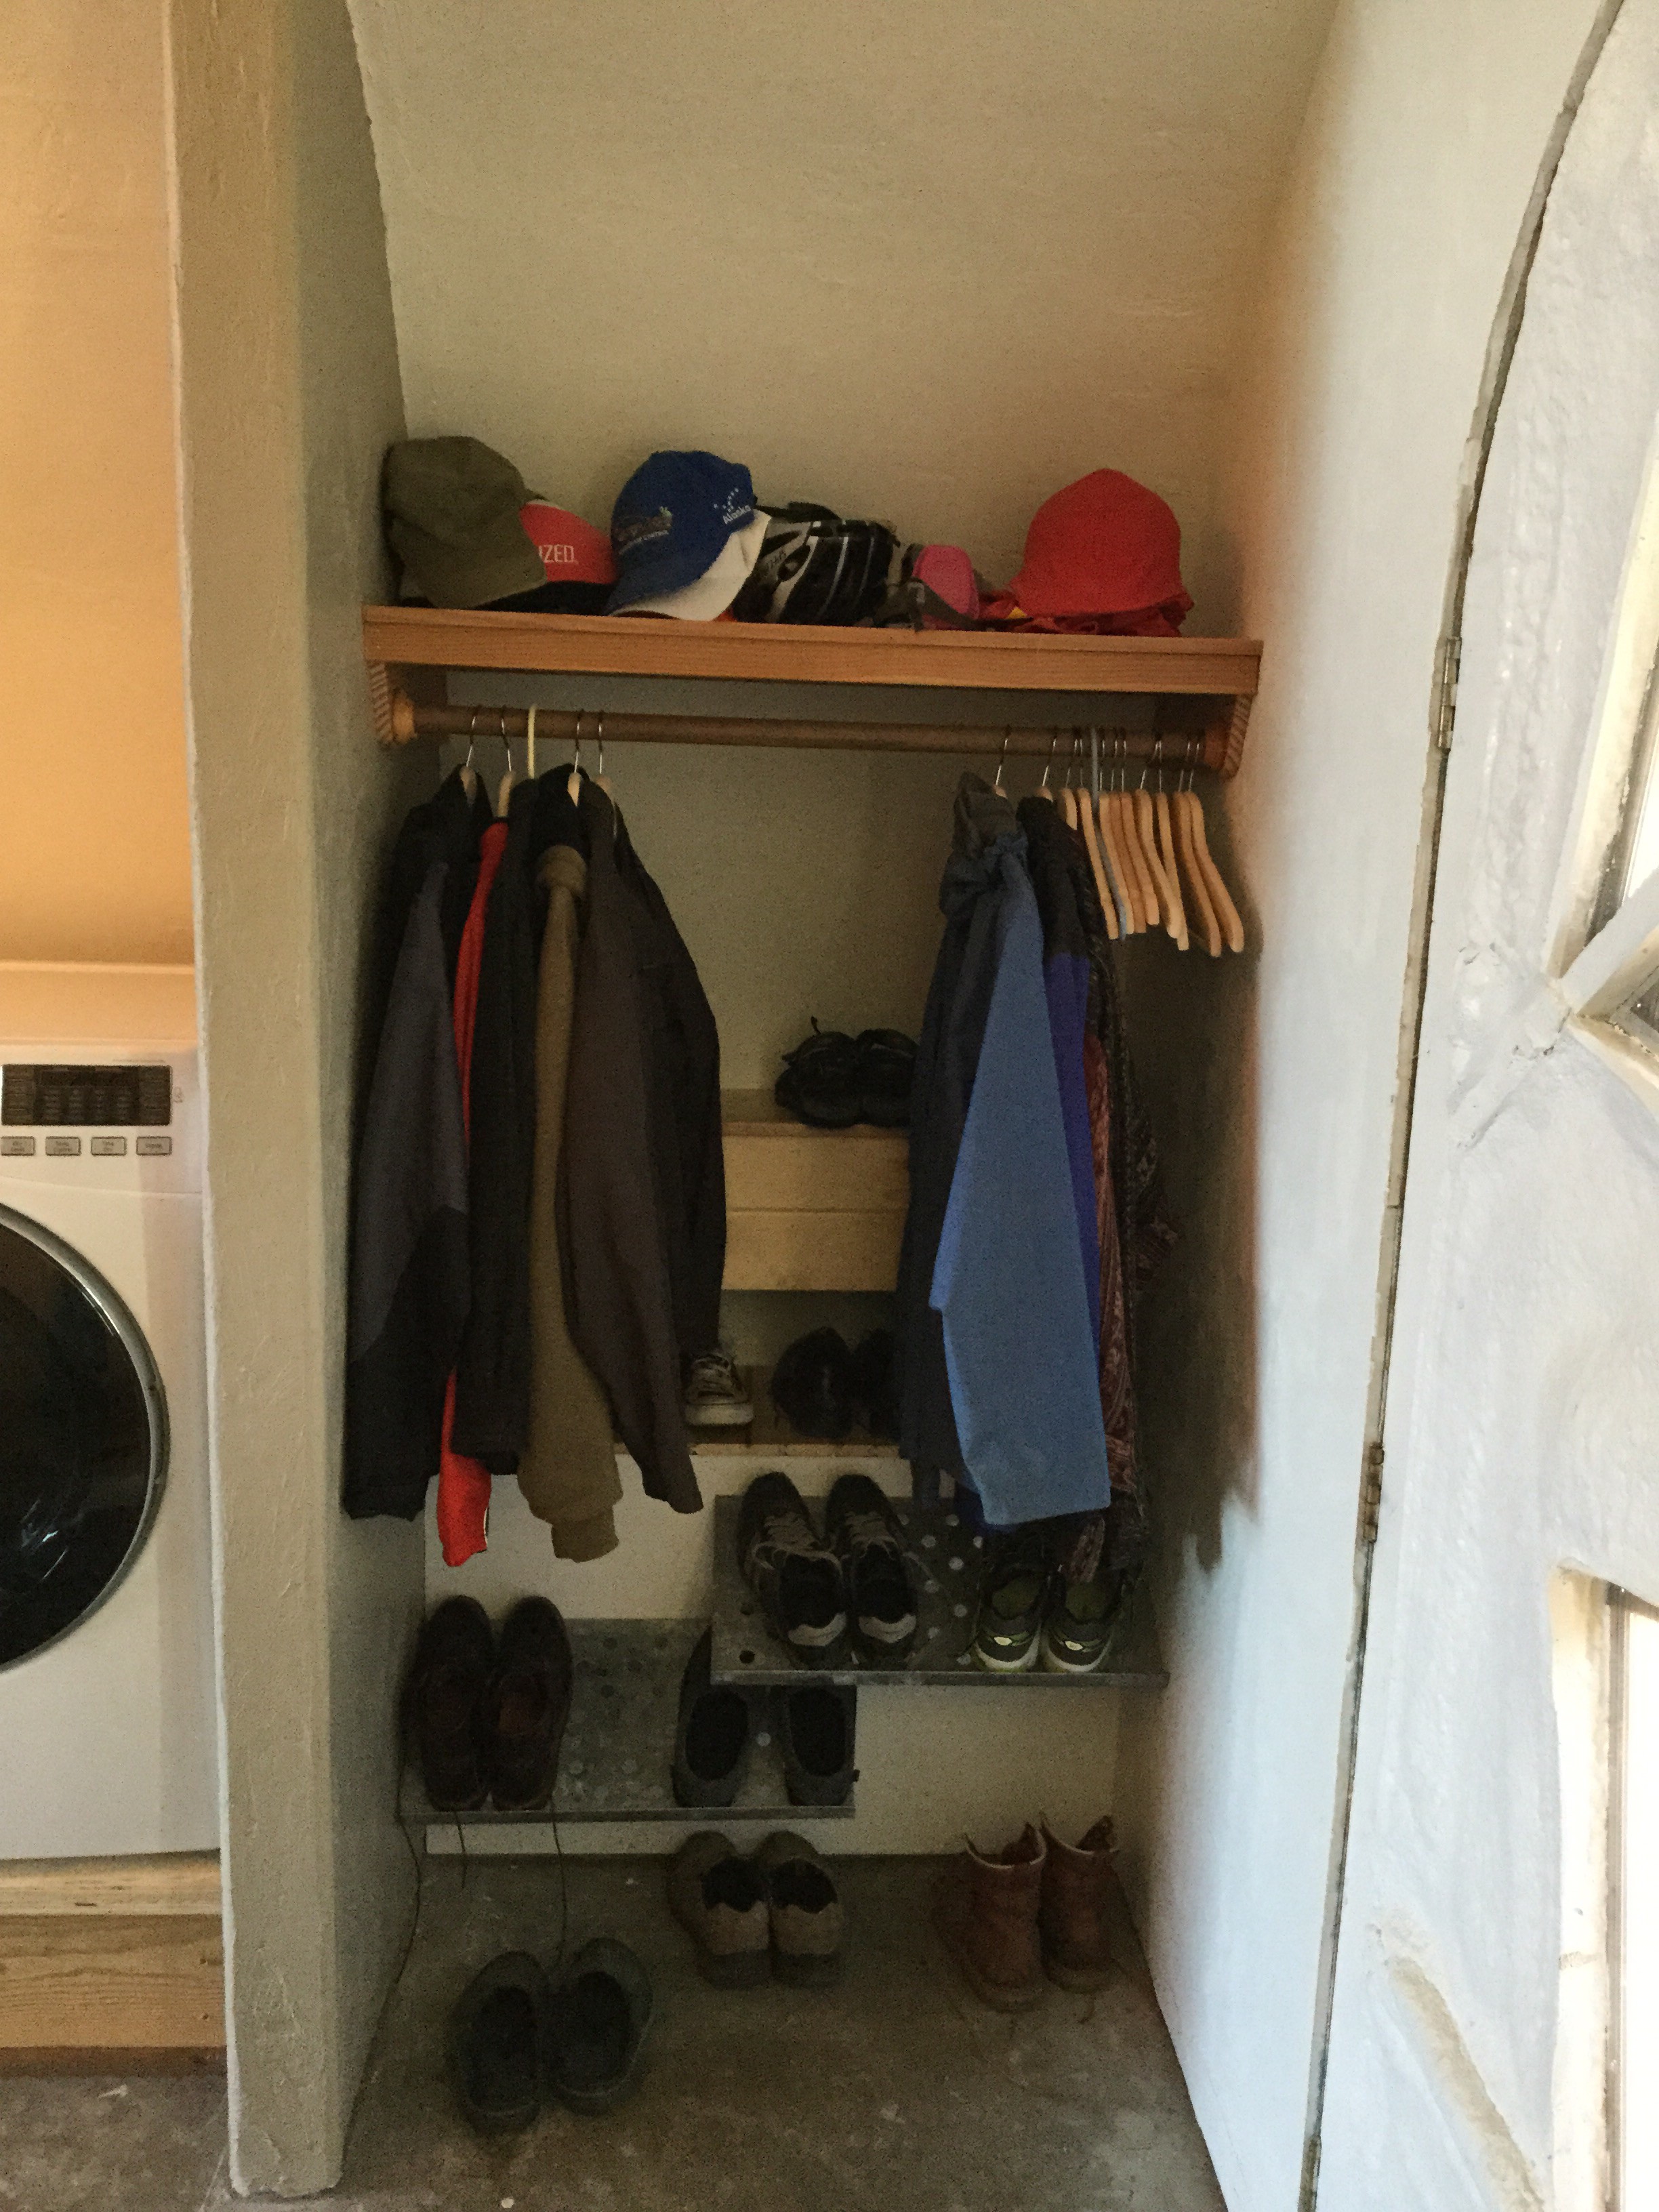
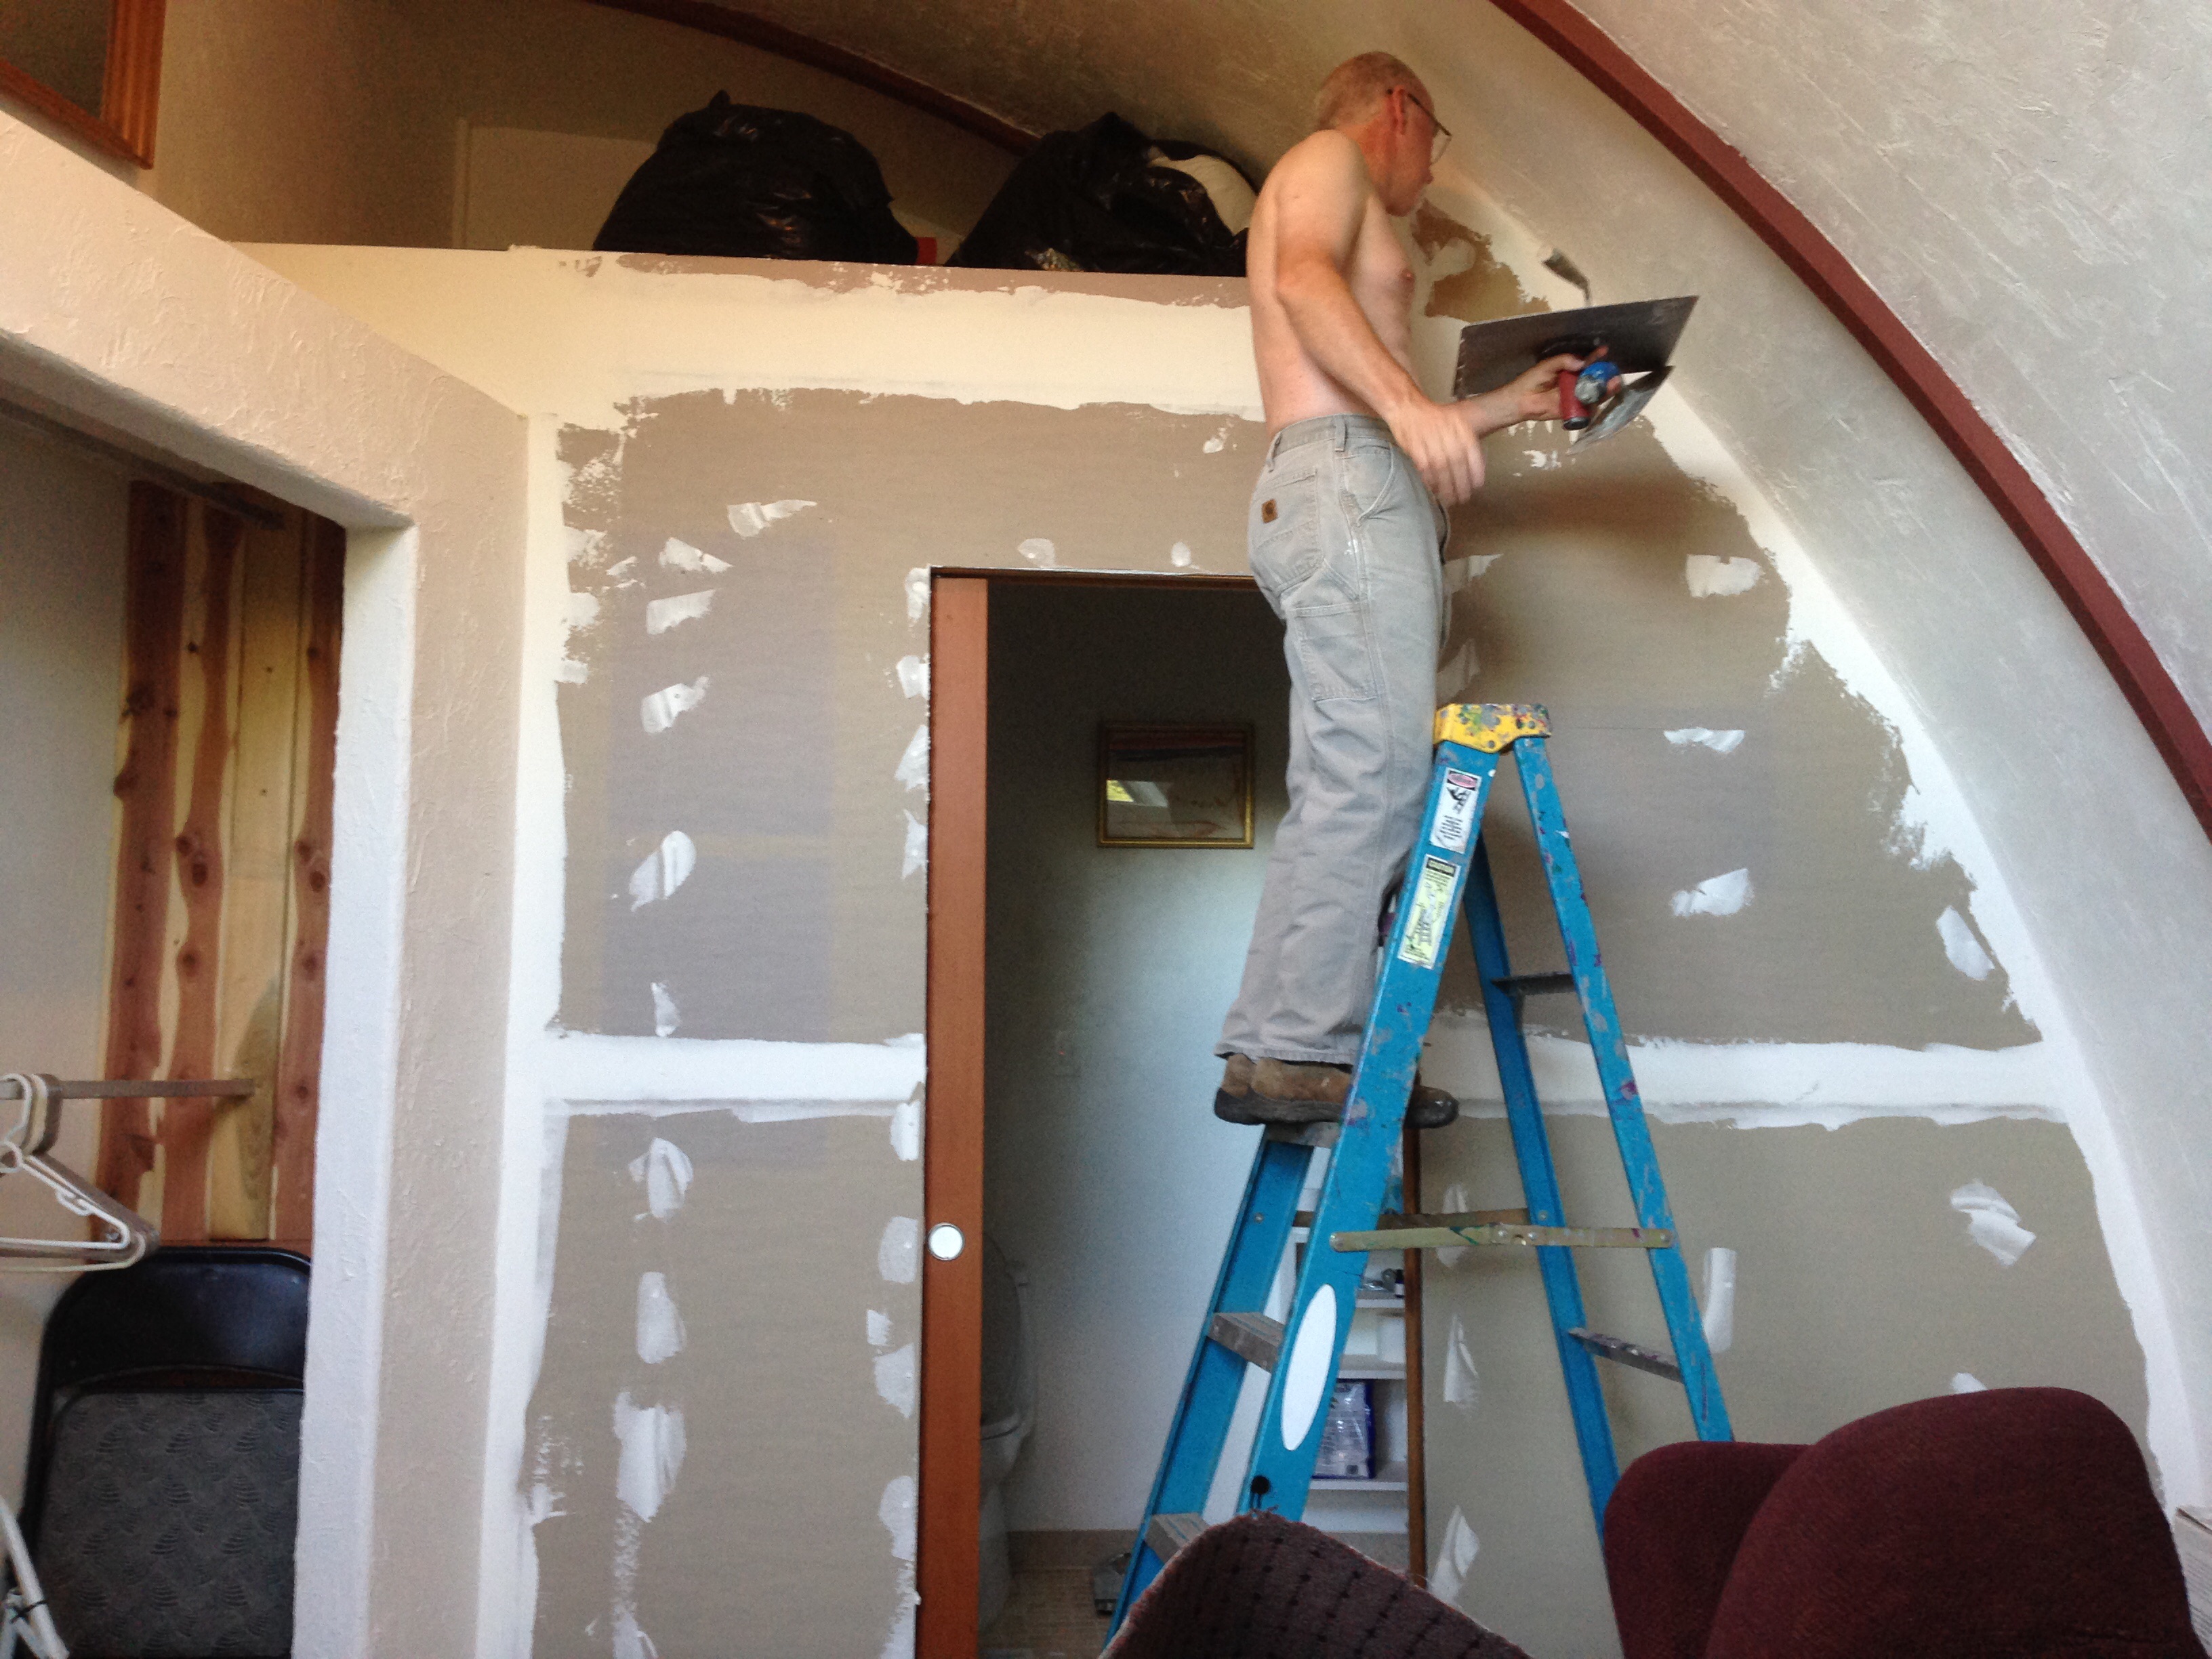
 In the entrance hall, there will be a coat closet and laundry on the West side. So we put up the framing between those two spaces. Once again having fun building to a curve.
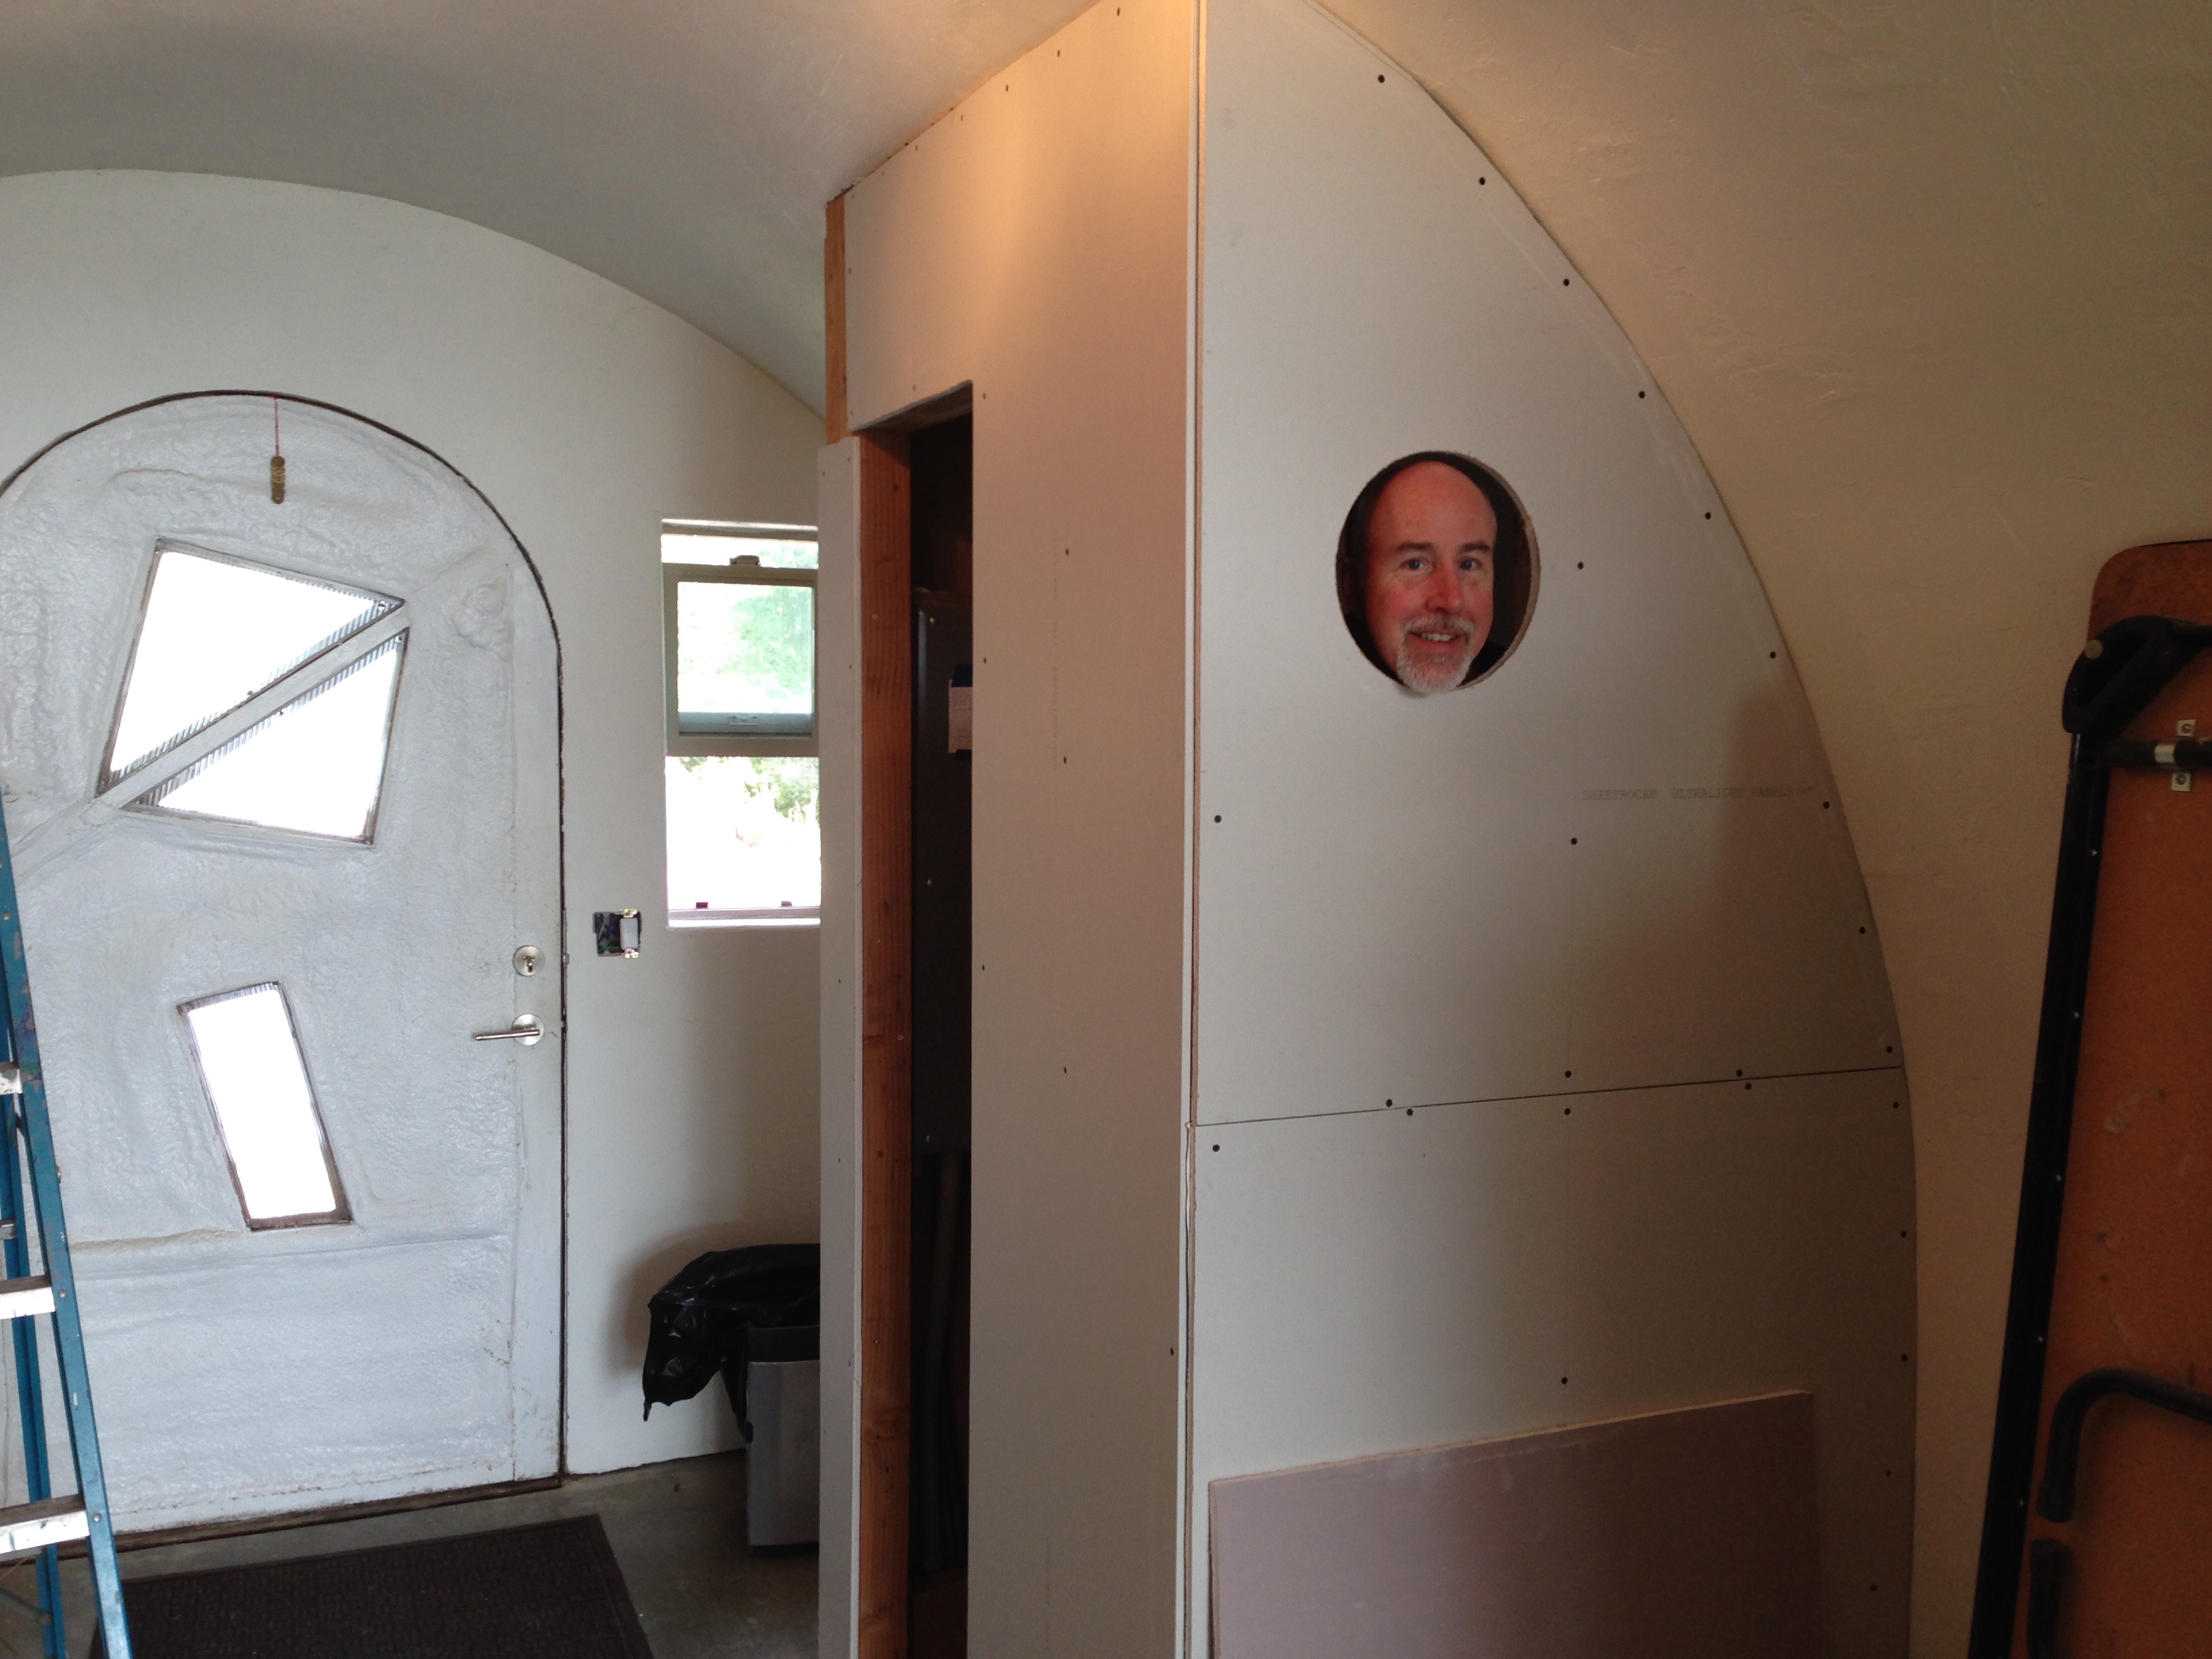
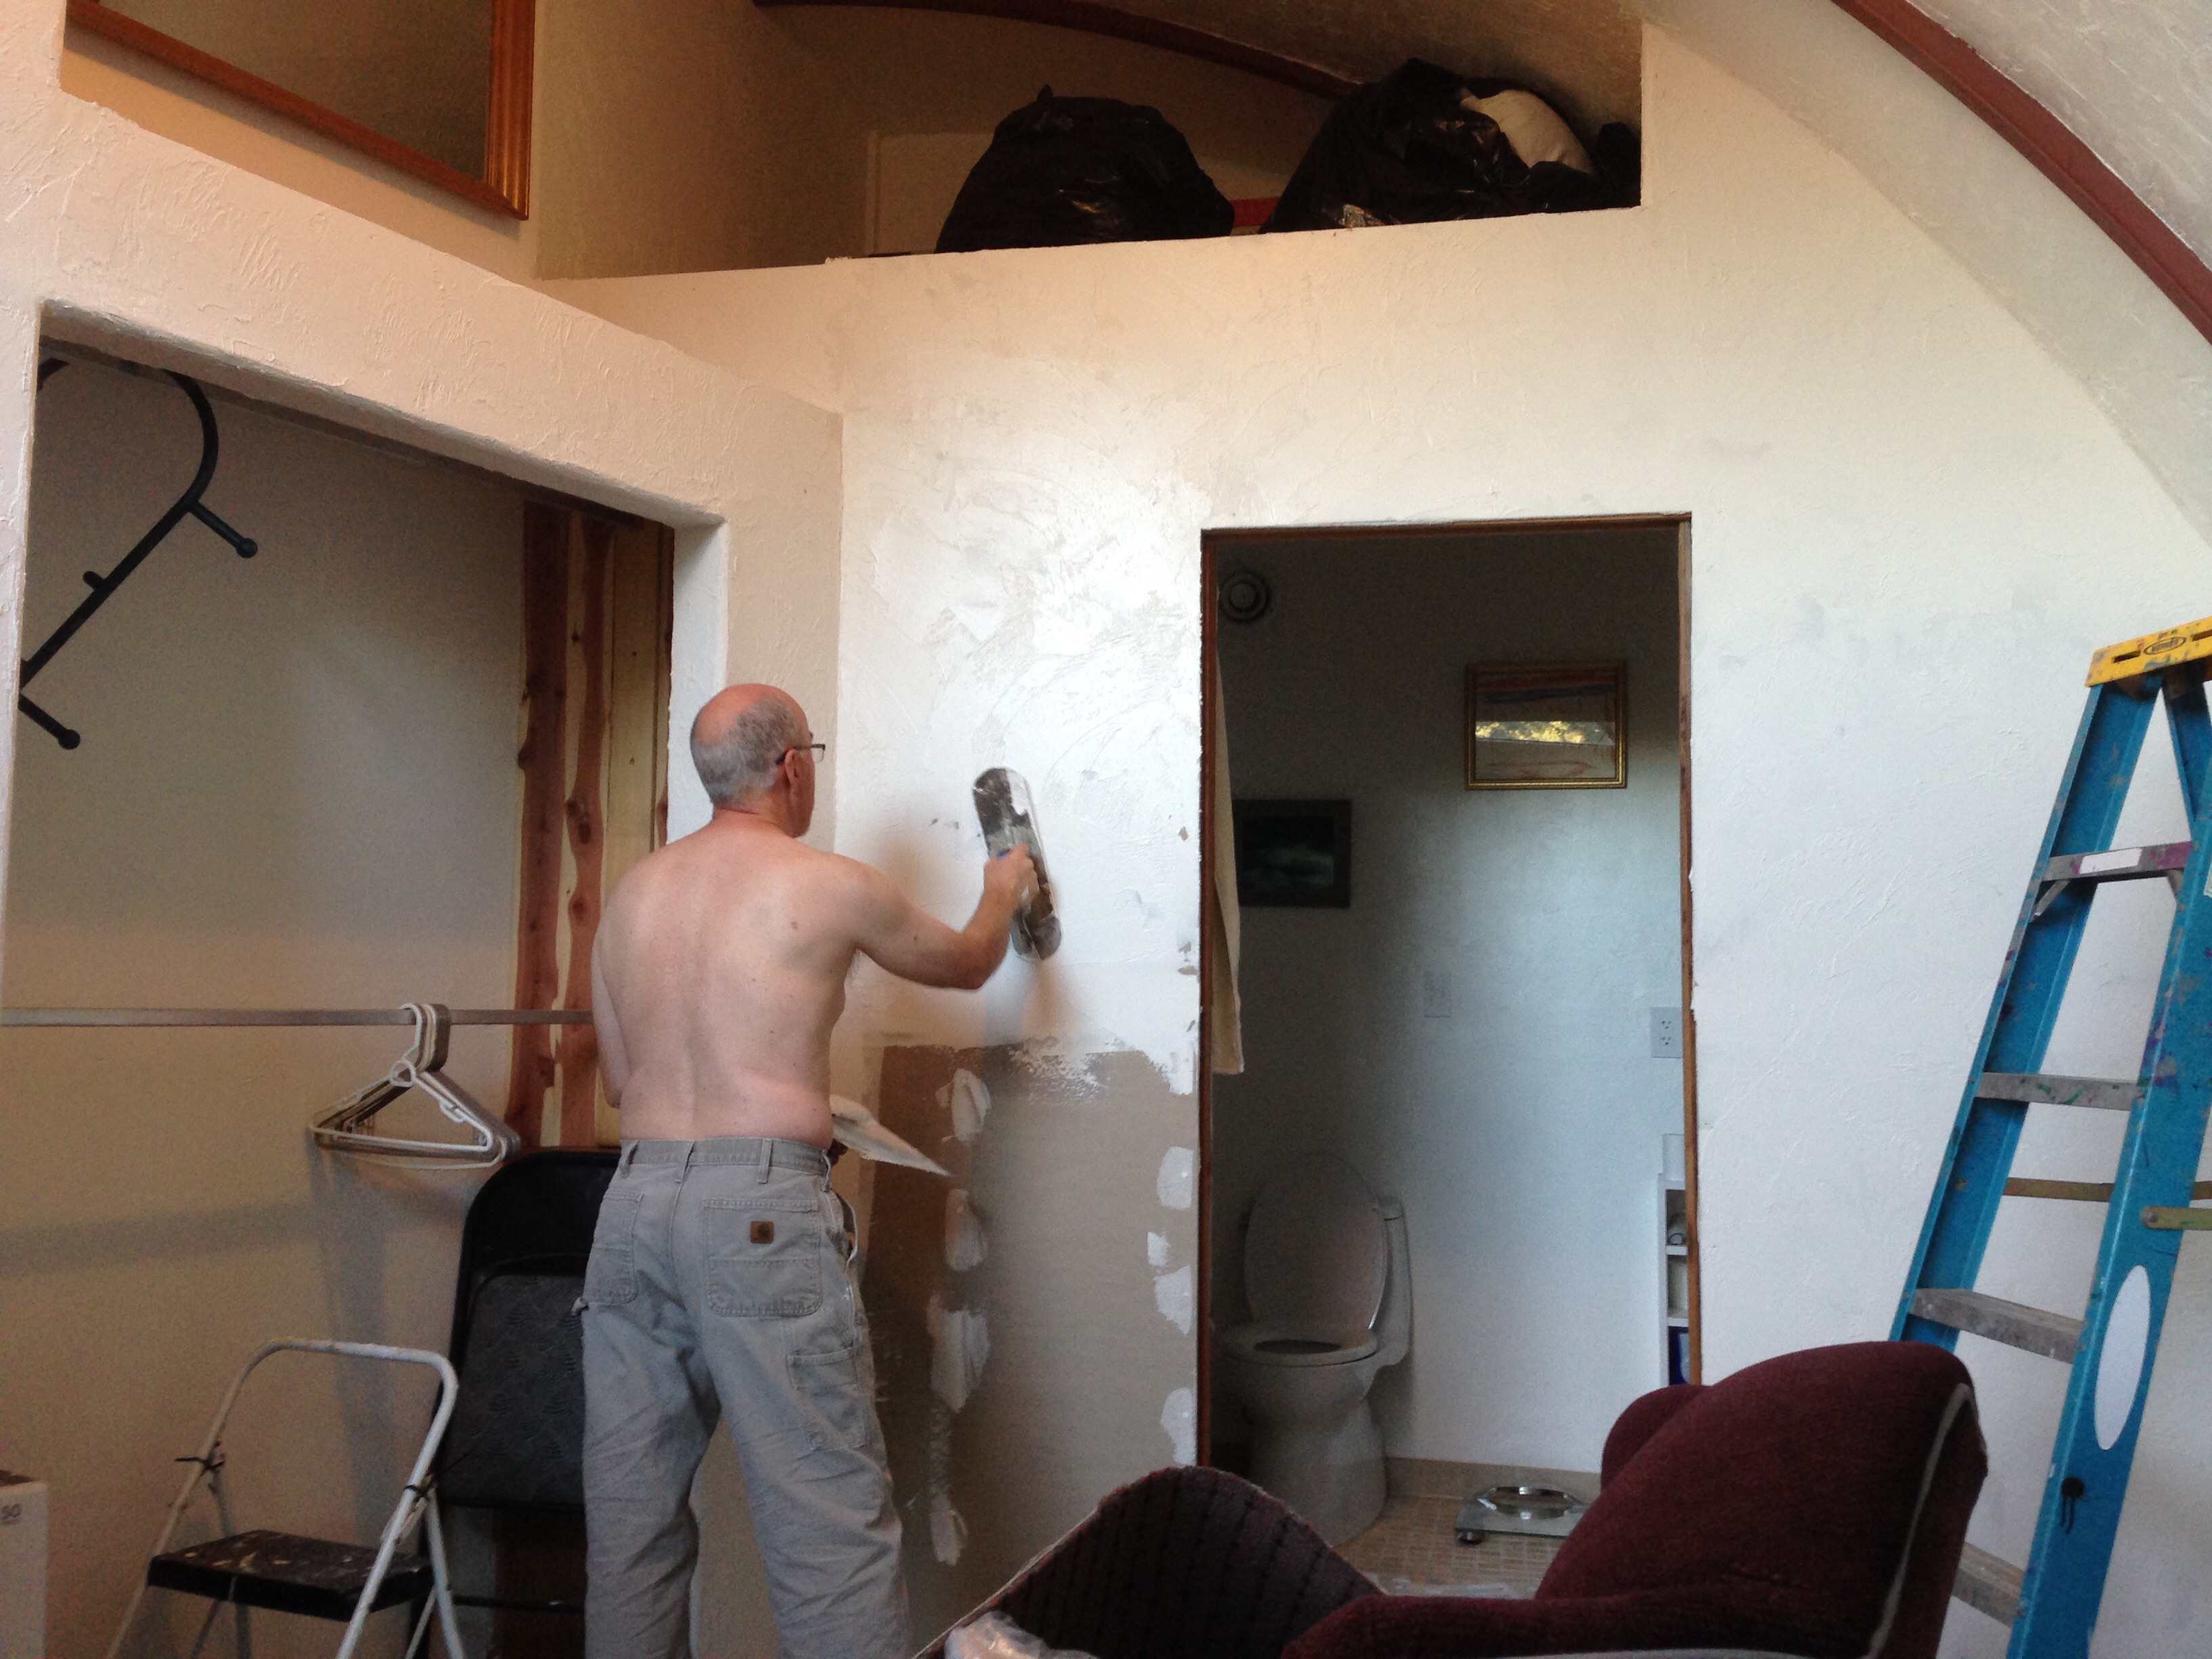
  We have gotten really good at scribing plasterboard to the curved walls. It’s amazing how sometimes closing in a space makes it feel larger.
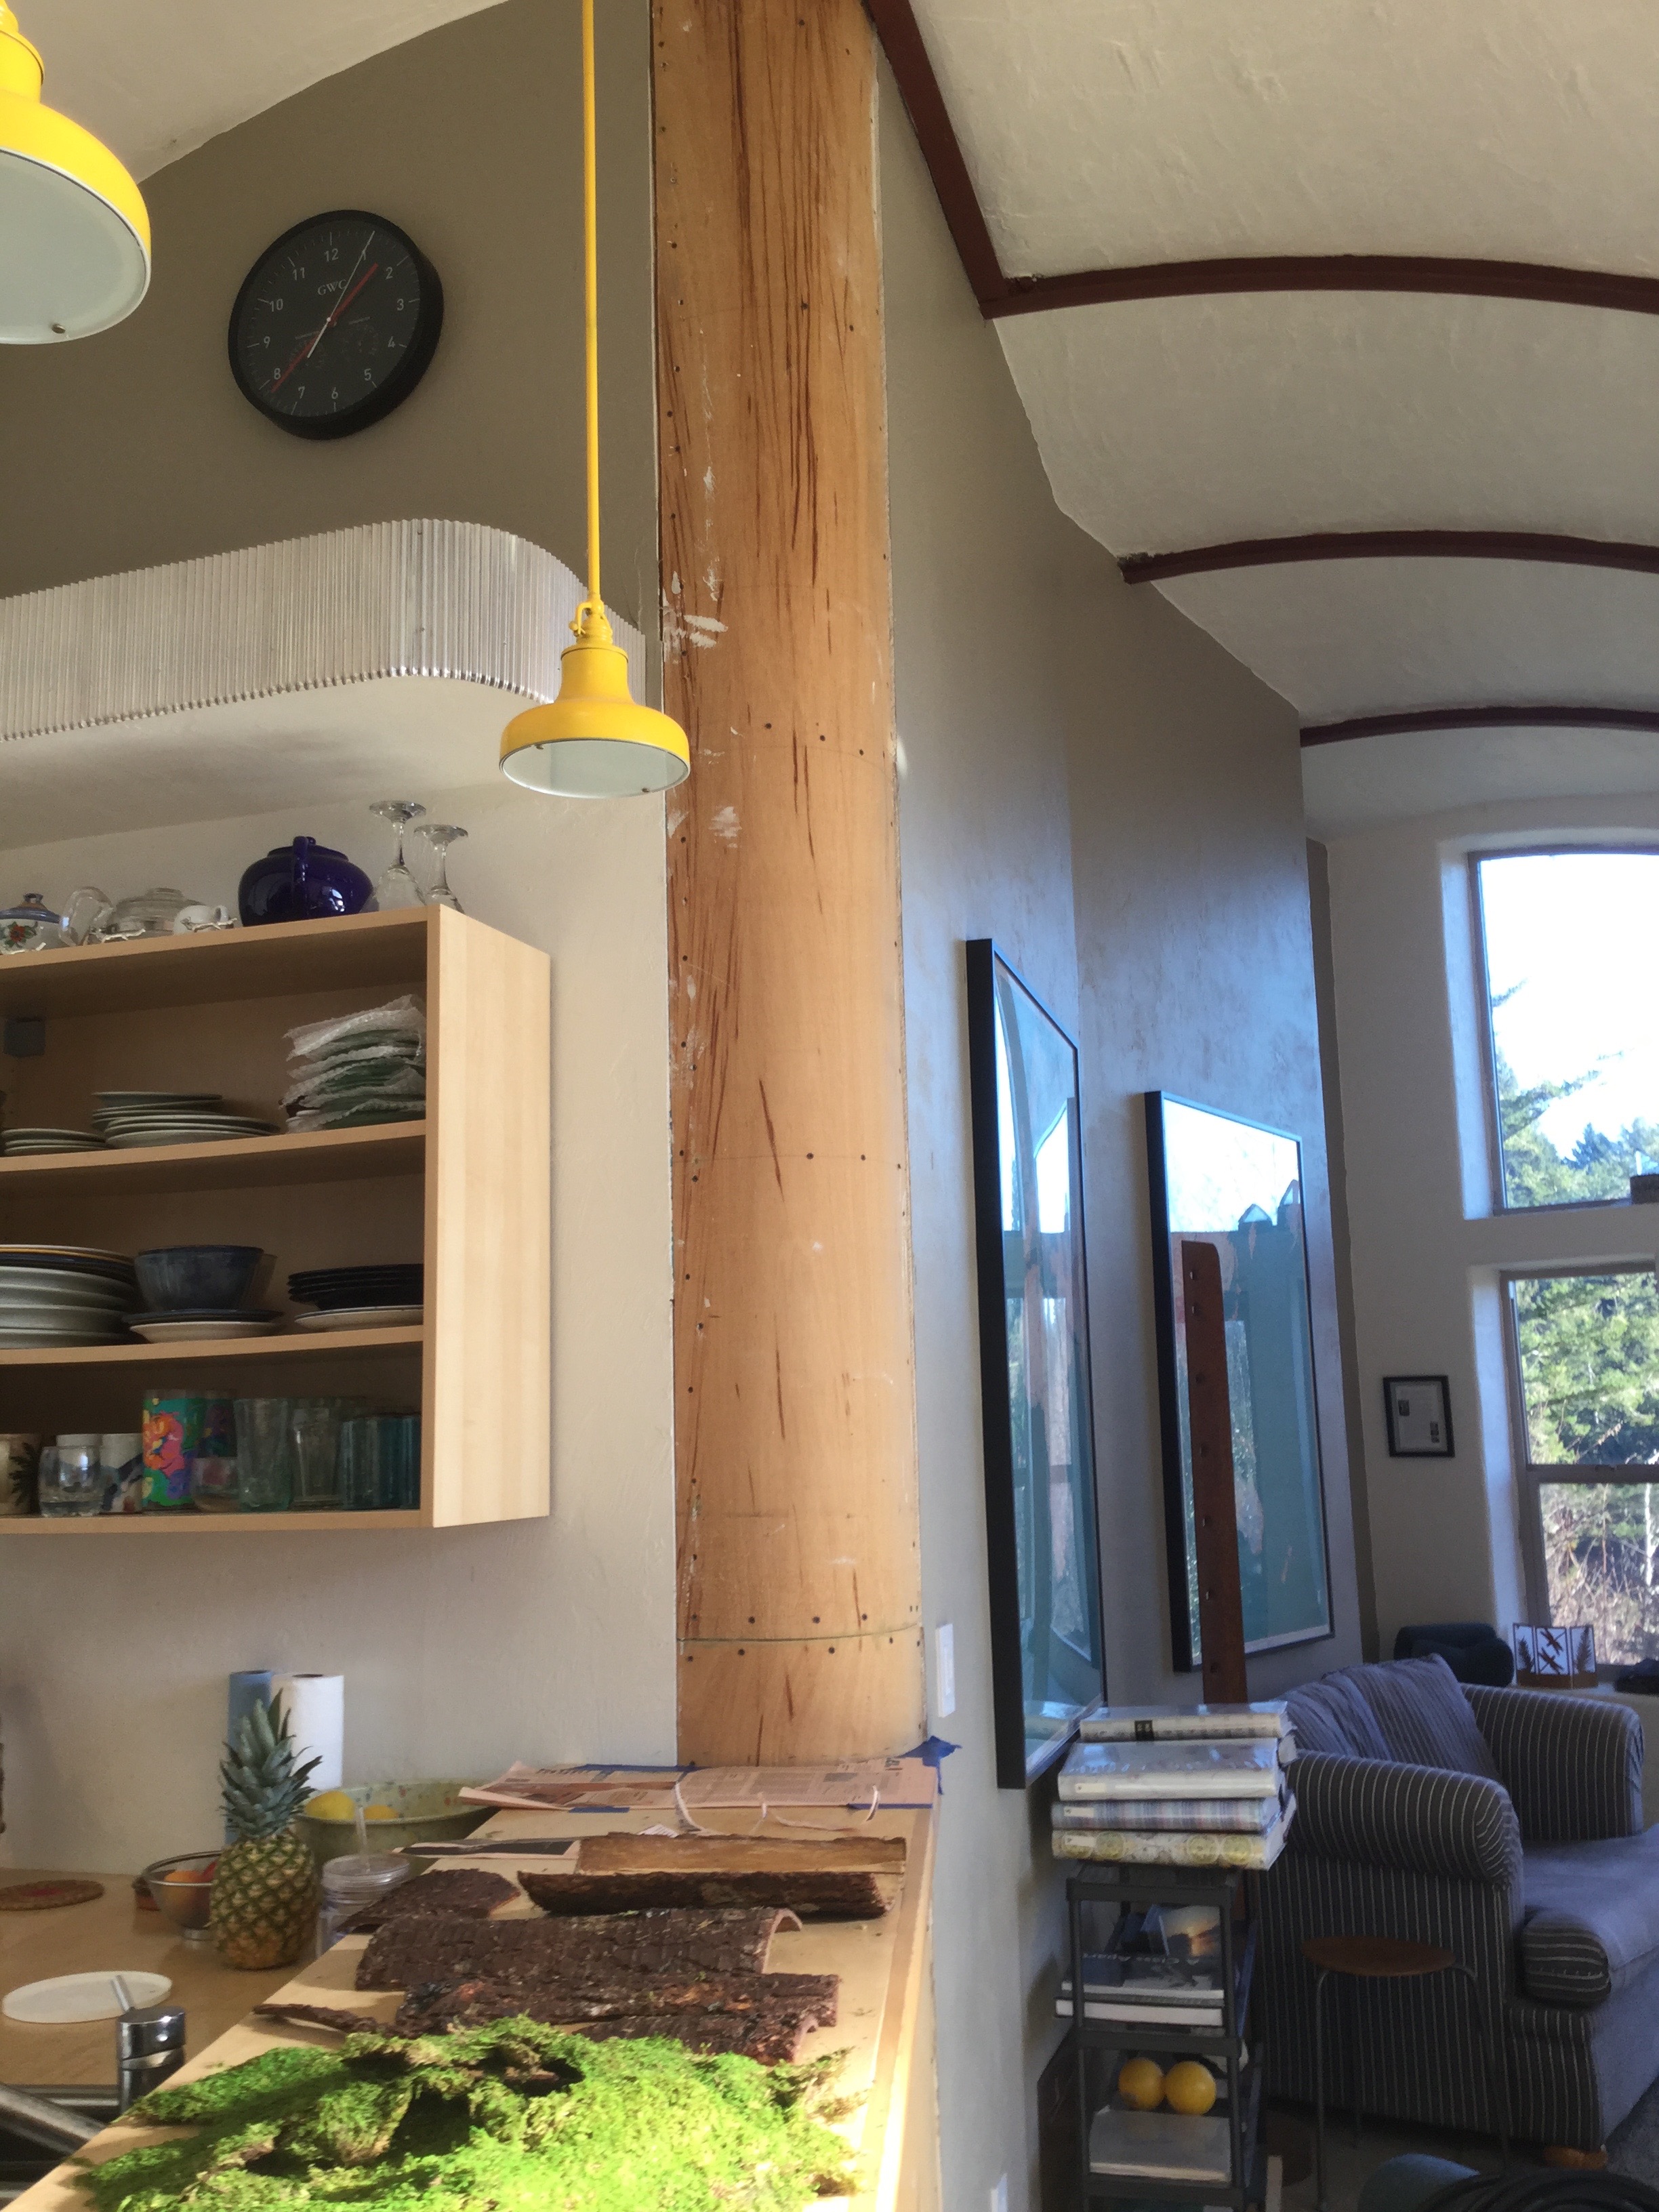
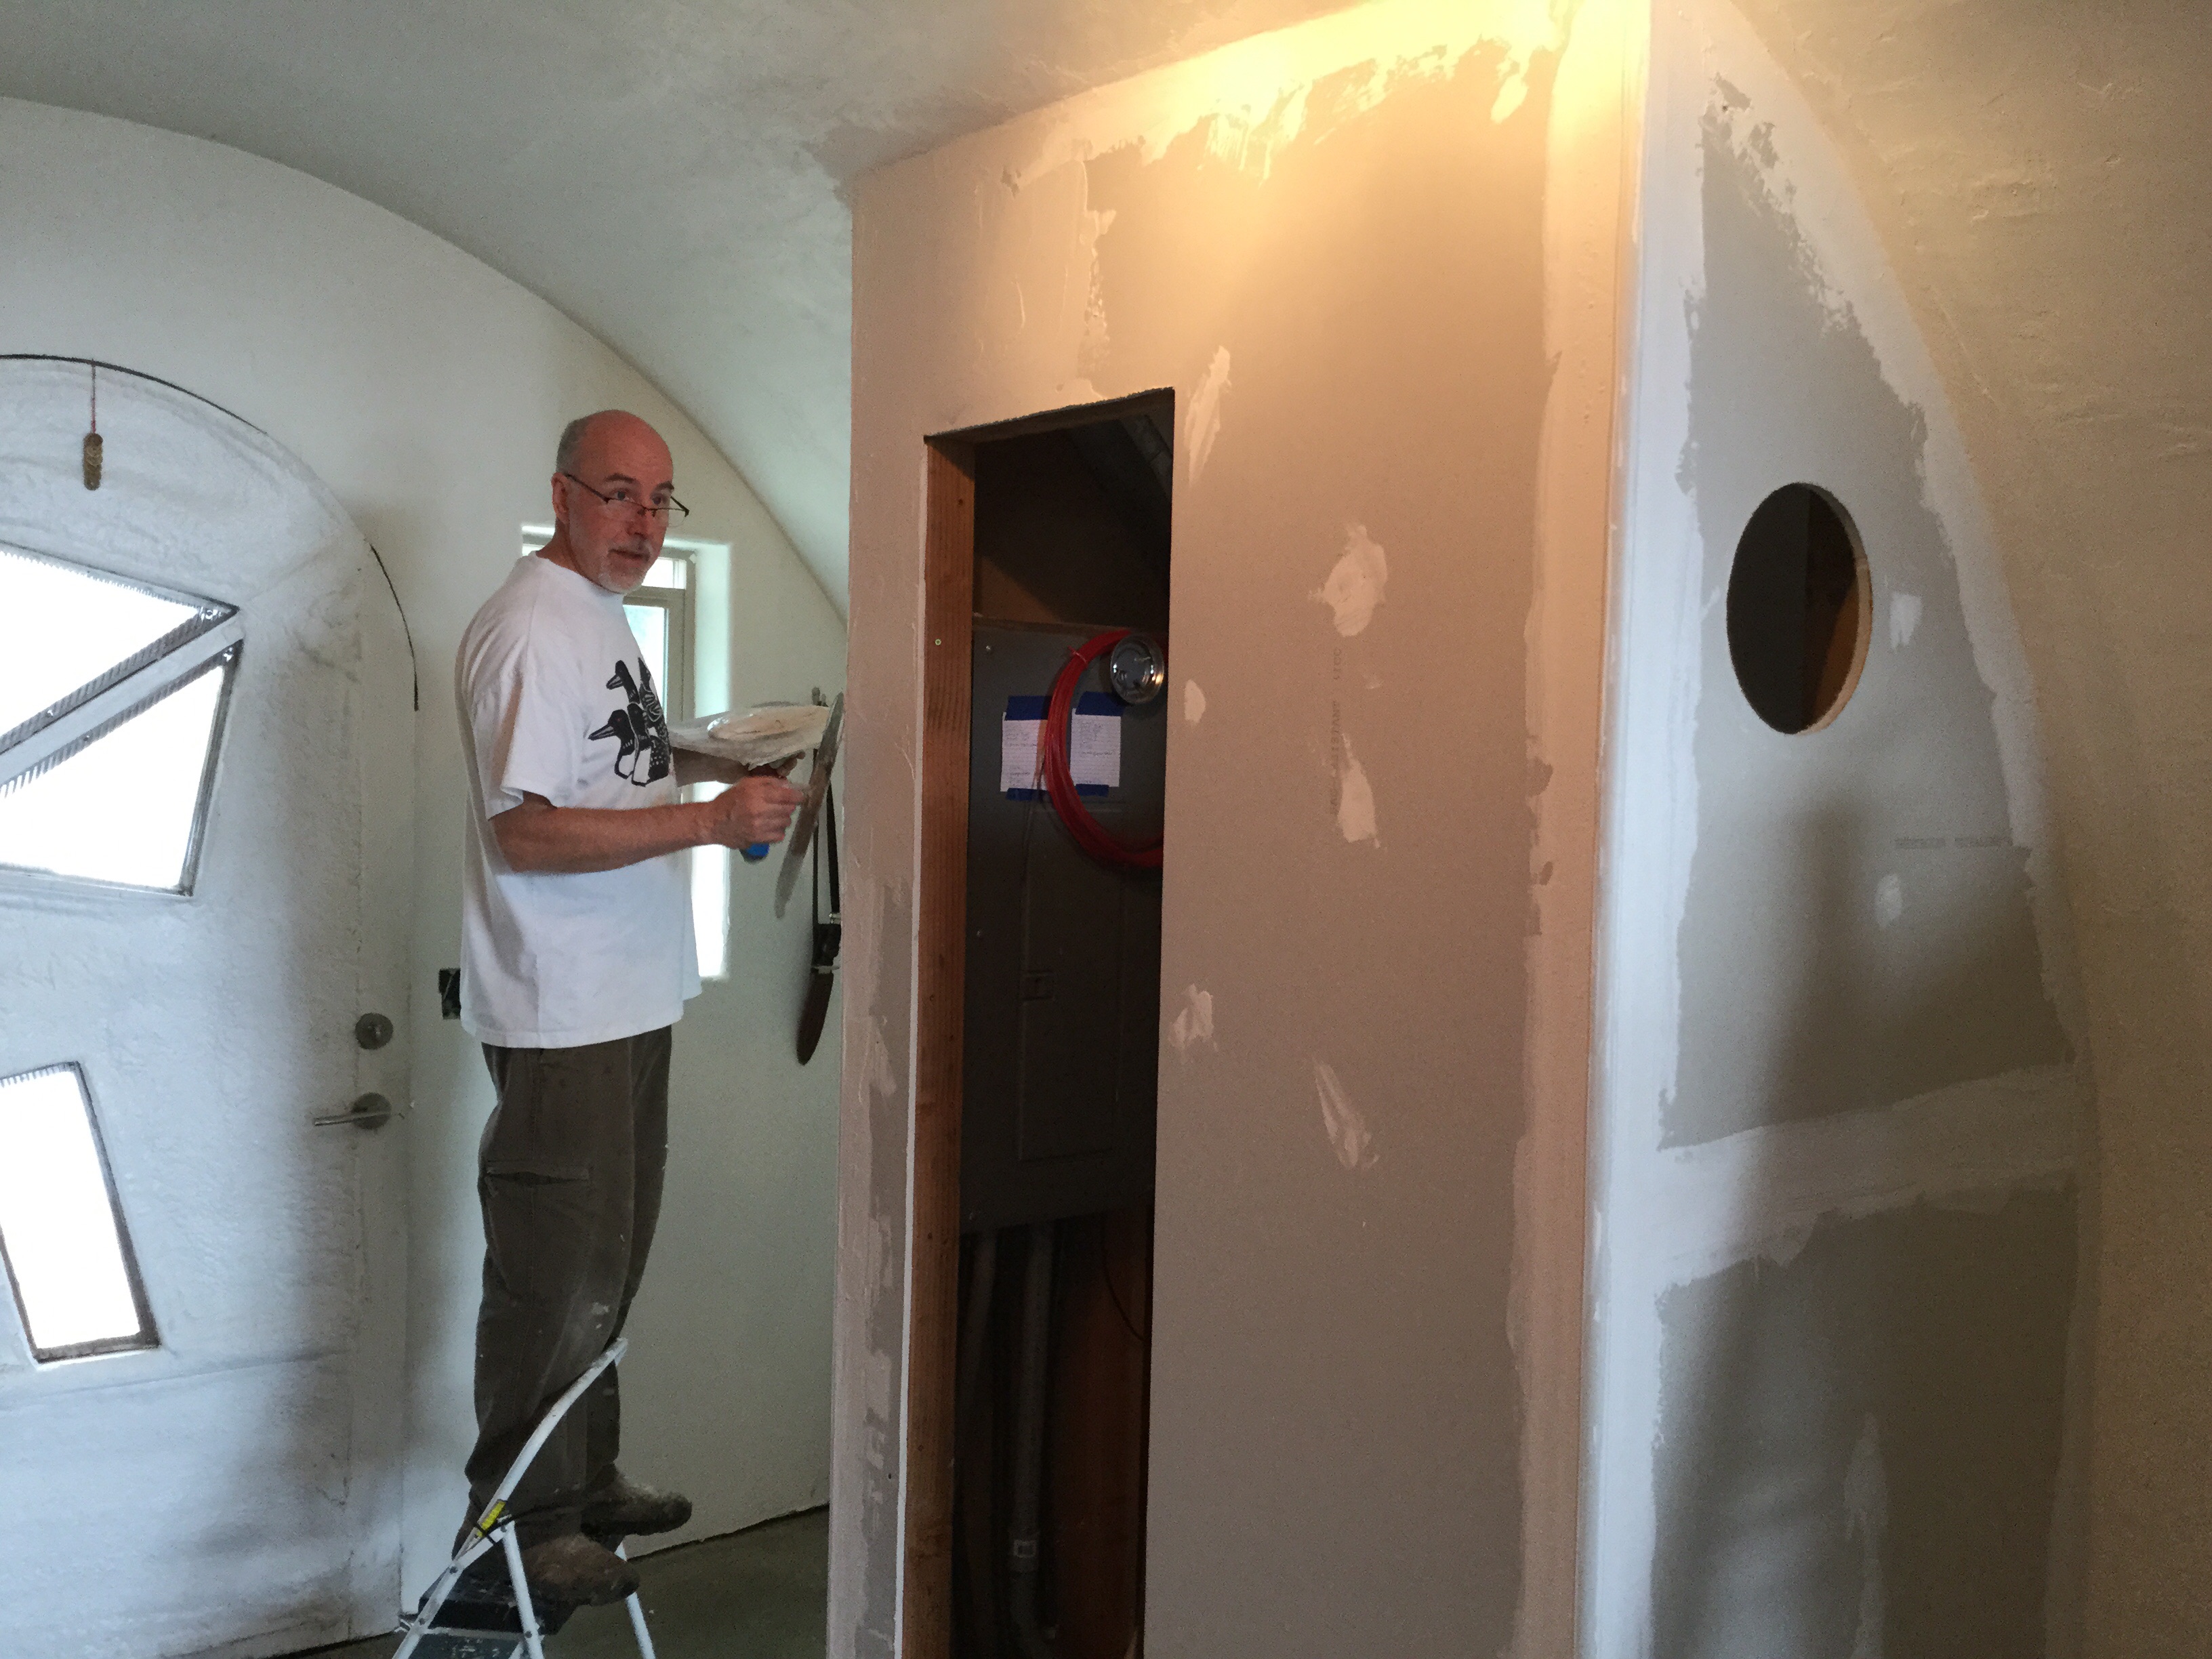
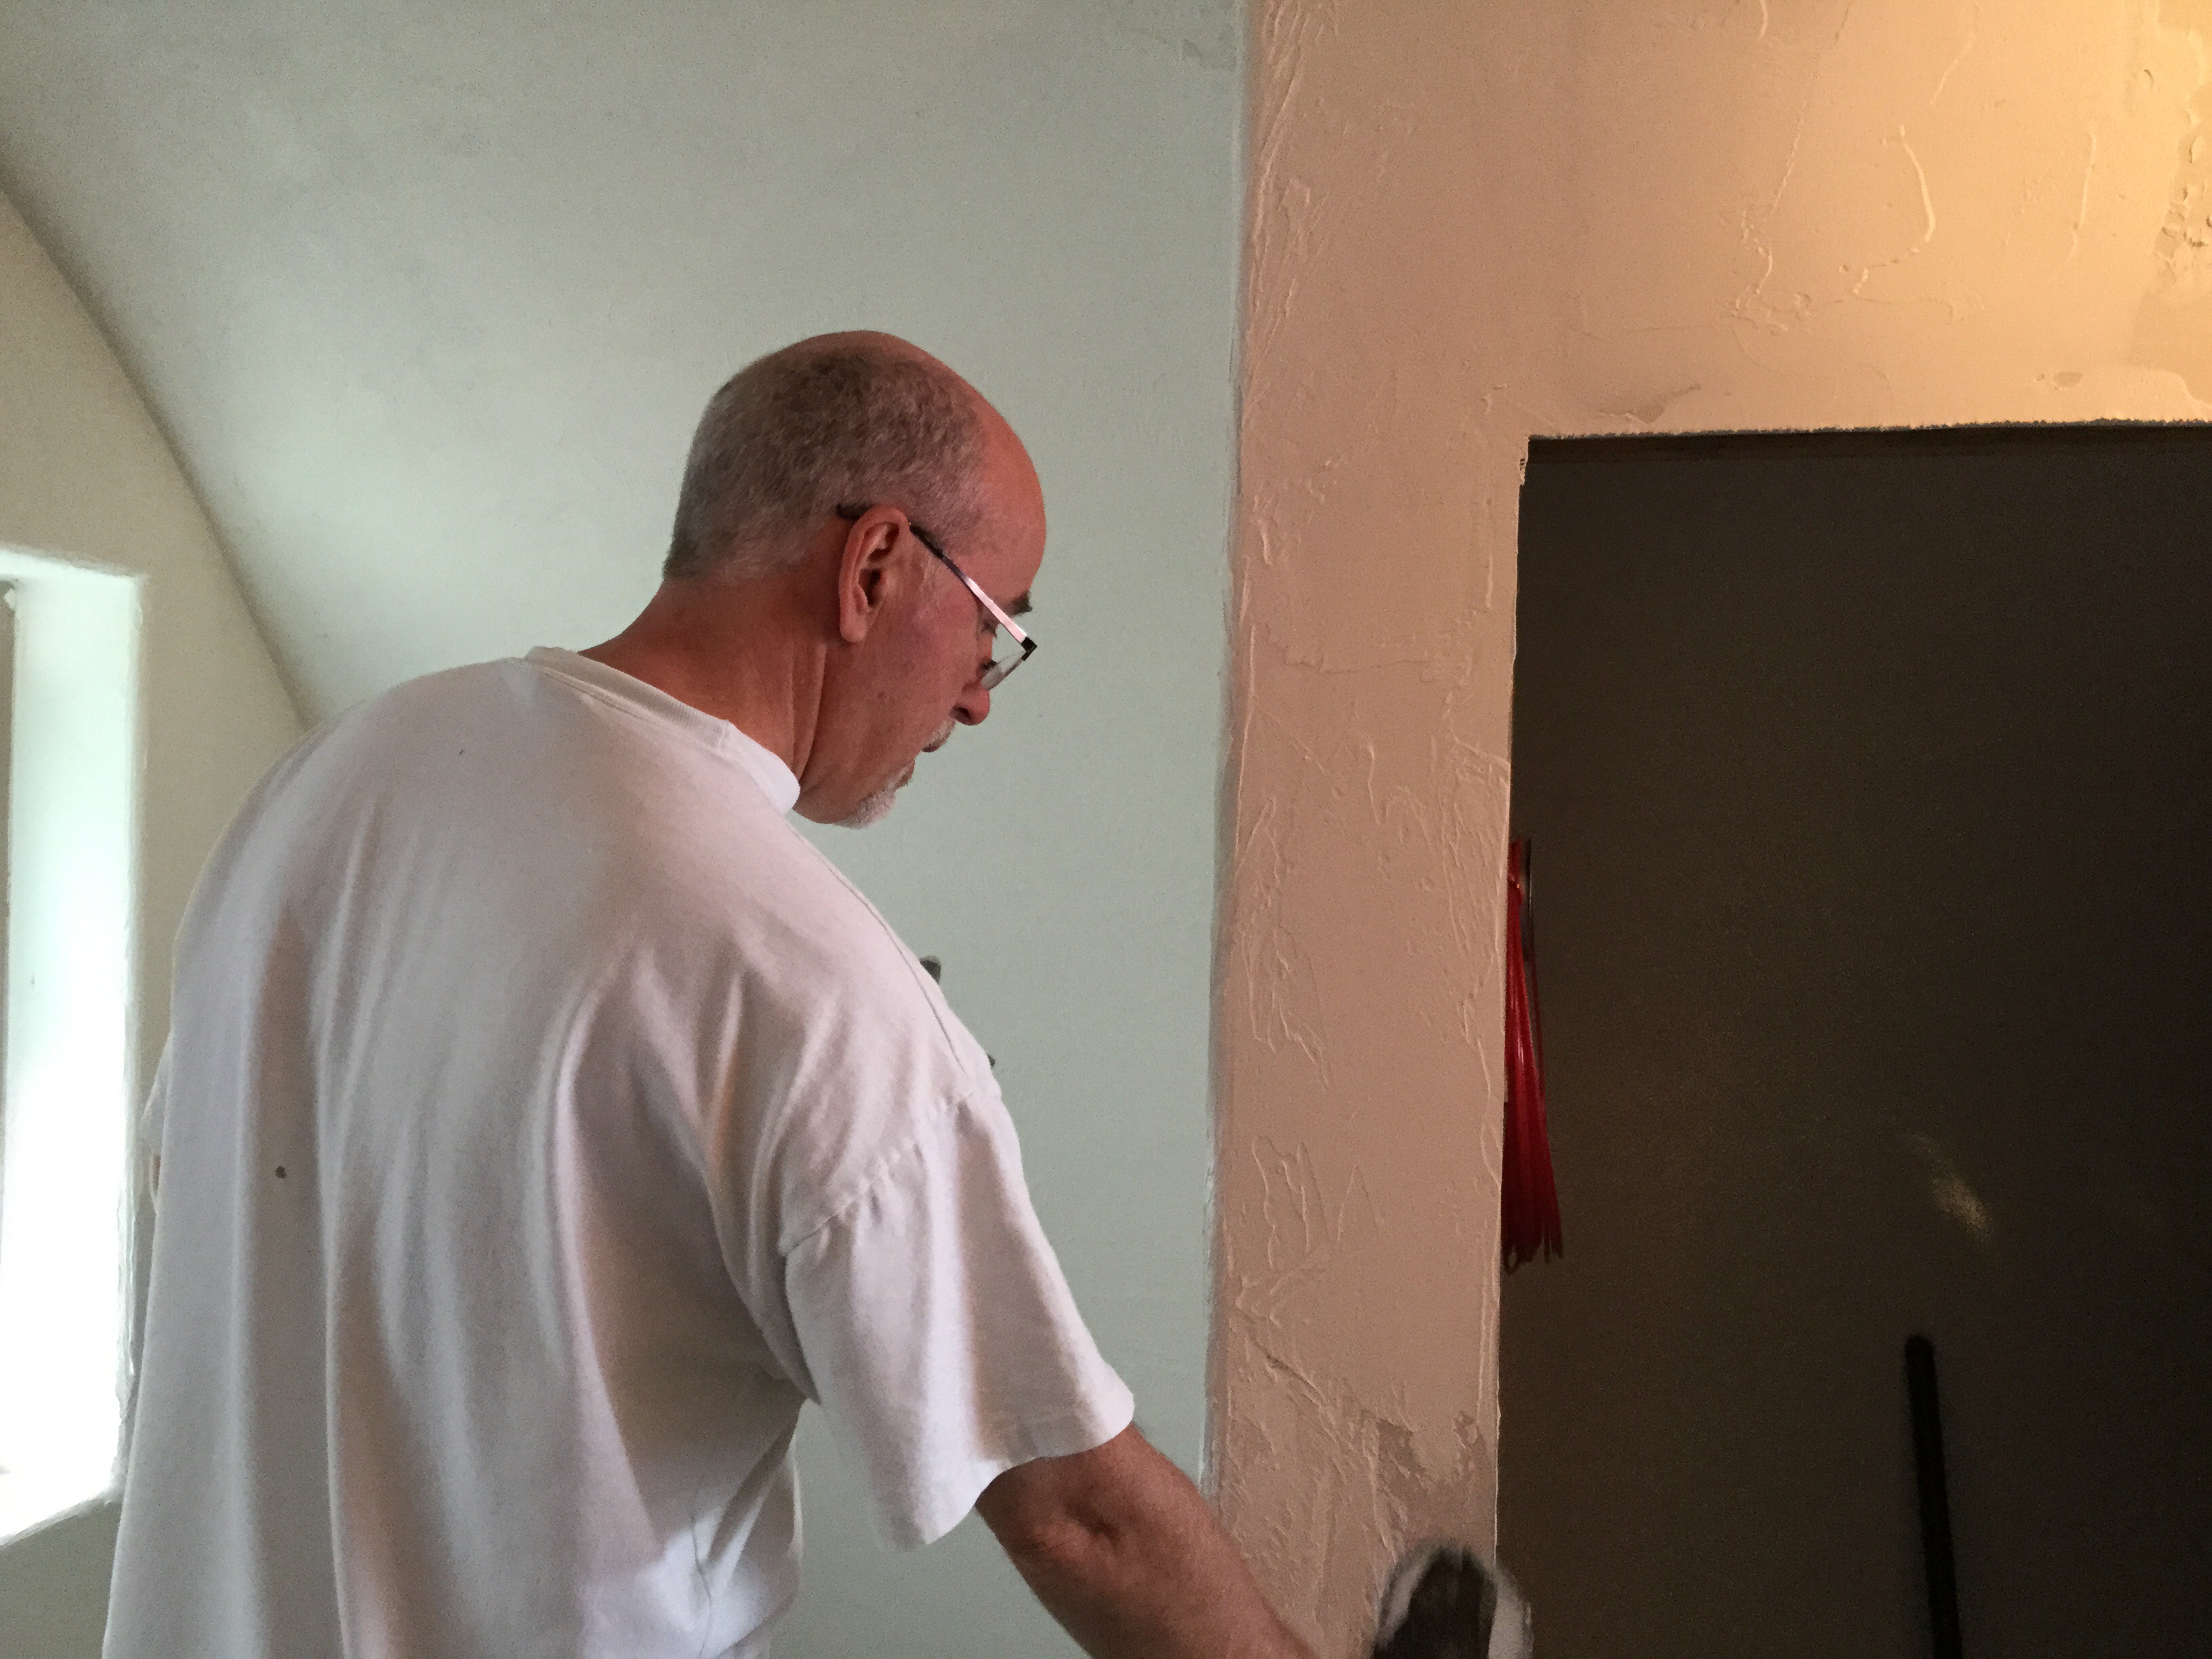
 Since we had a supply of plasterboard ( looks just like Sheetrock), we decided to finally close in the bare studs above the guest bathroom. It will probably be some time before we can plaster these walls but it’s really nice to get them closed in.
And now for something completely different.  We received this beautiful Japanese Maple as a wedding present. Jeff has been very anxious to start on some of the exterior landscaping but there is still much work to be done outside the structure (North side entrance and retaining wall). However we are done working in the area on the West side off the Master Bedroom. The perfect spot for this beautiful specimen.

 Topped with a waterproofing membrane.
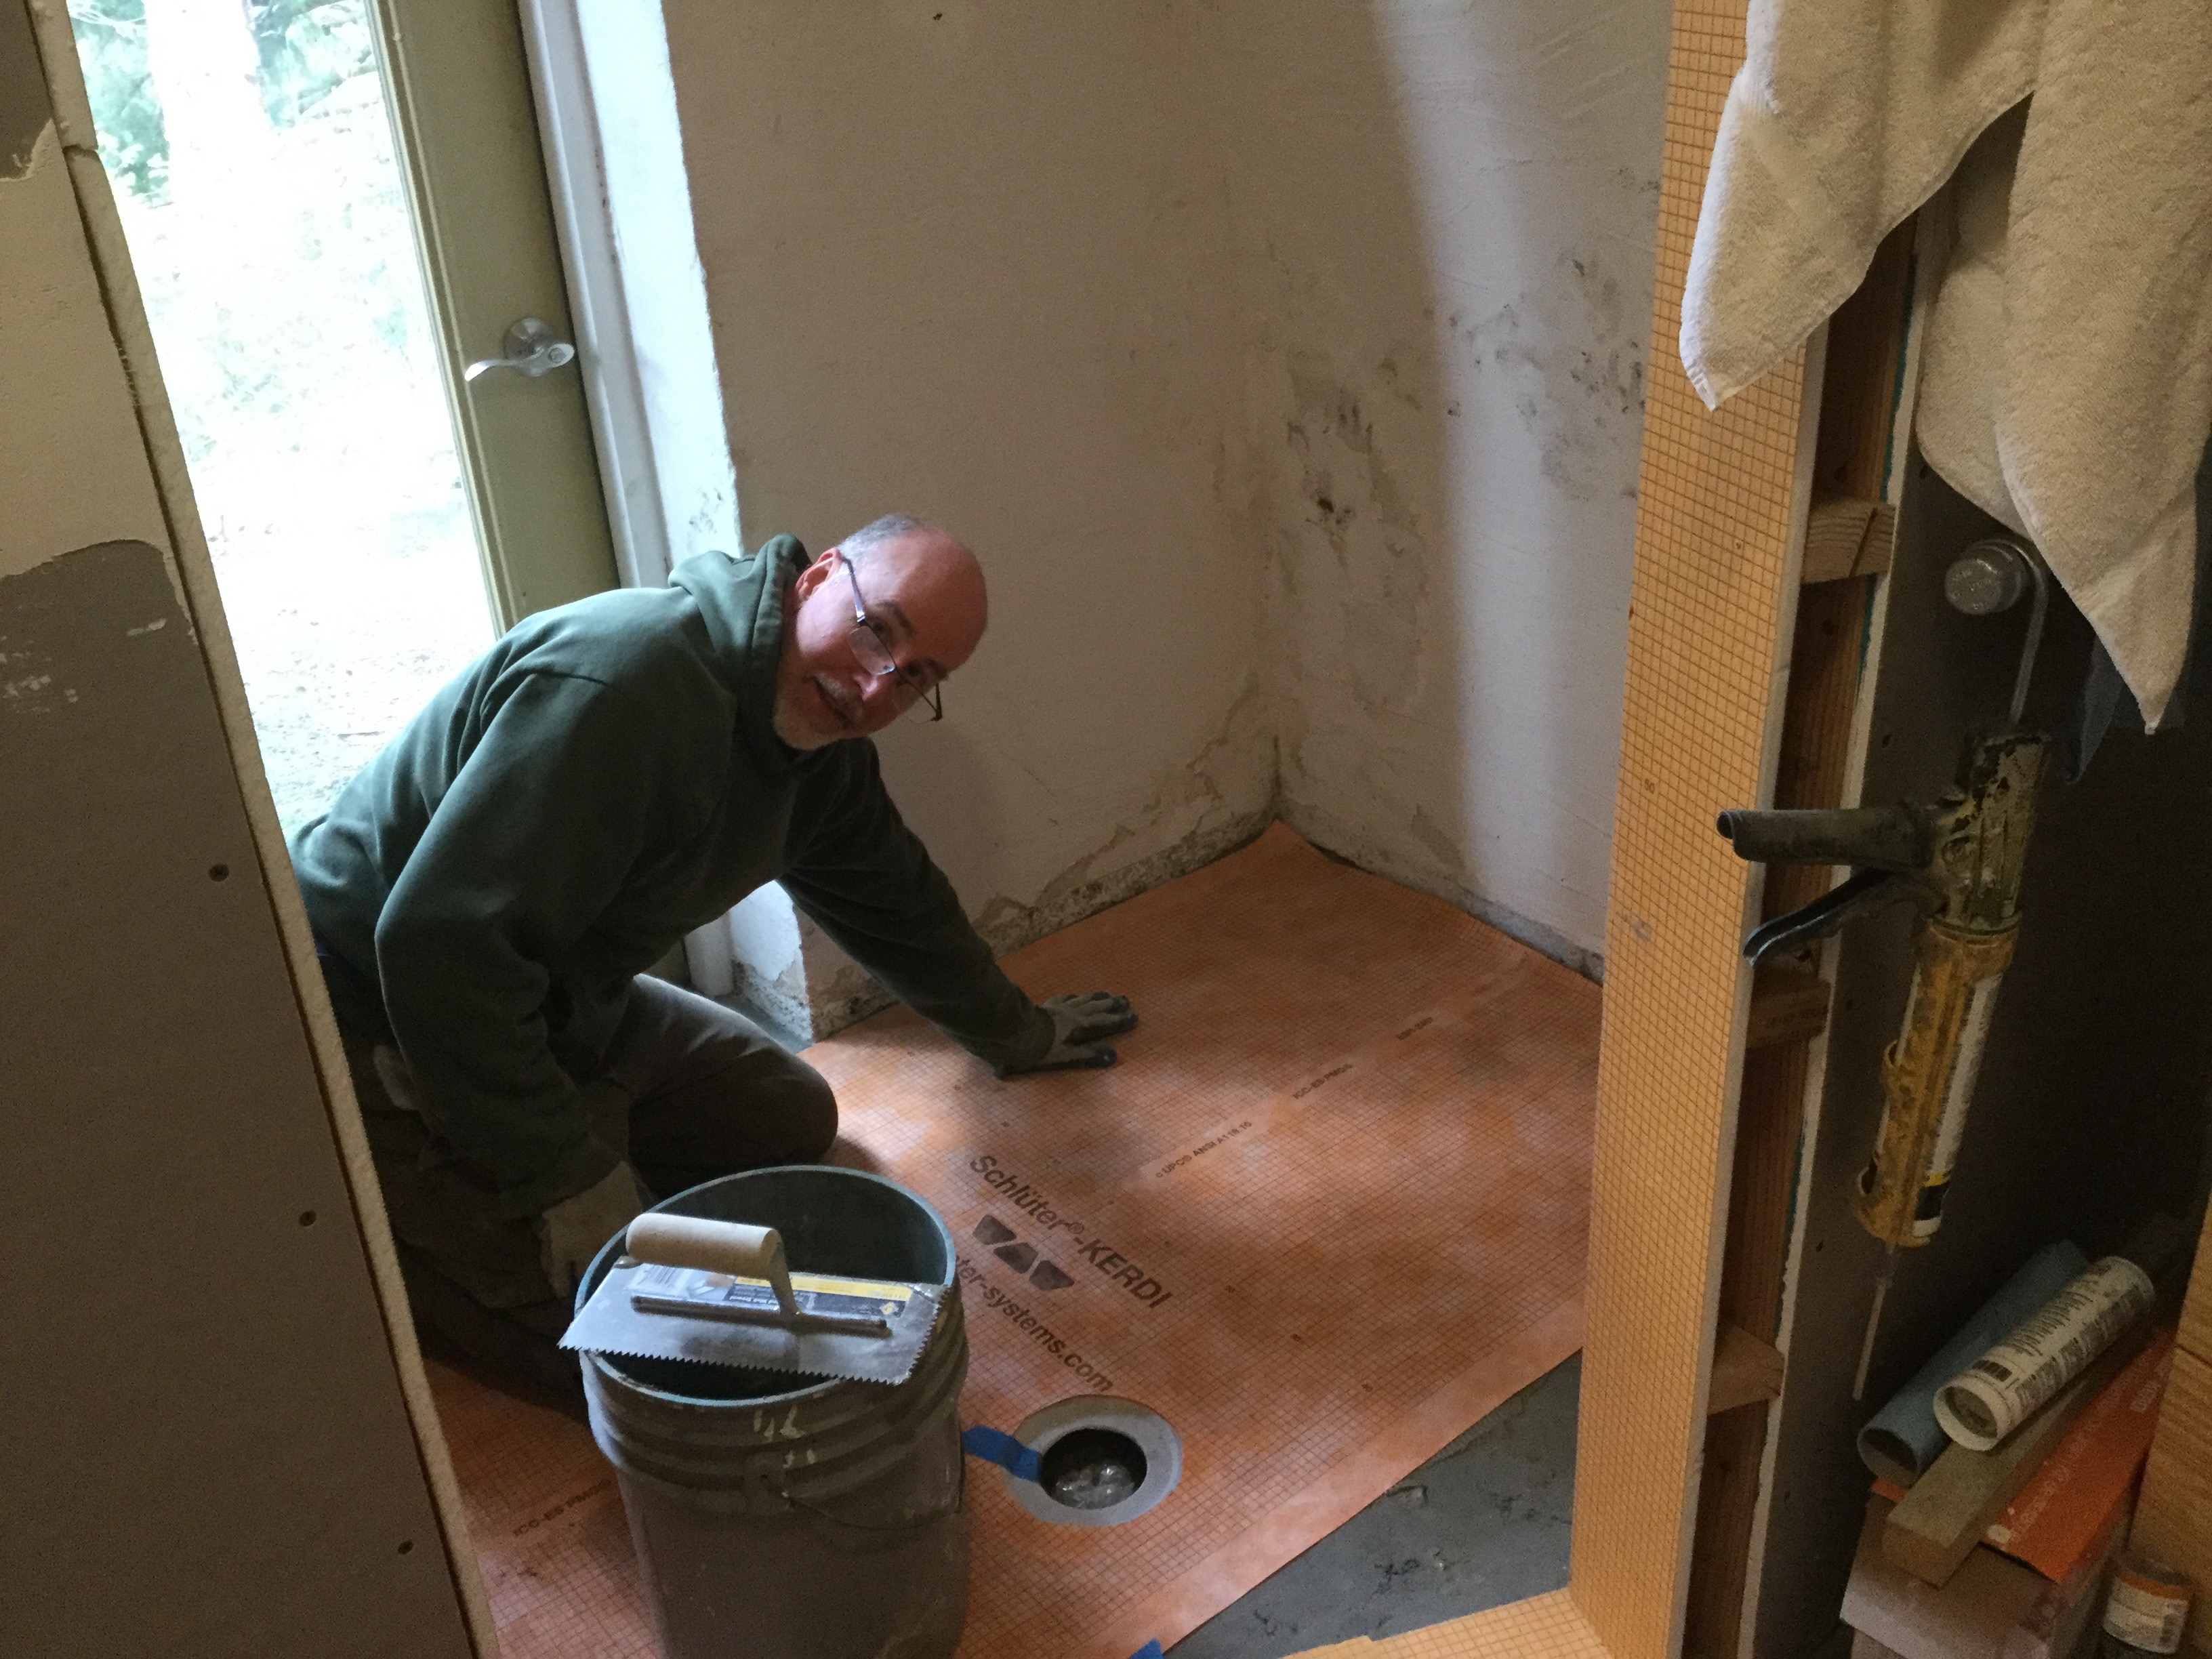 Add some basalt stone mosaic tiles plus a few agates and shells.
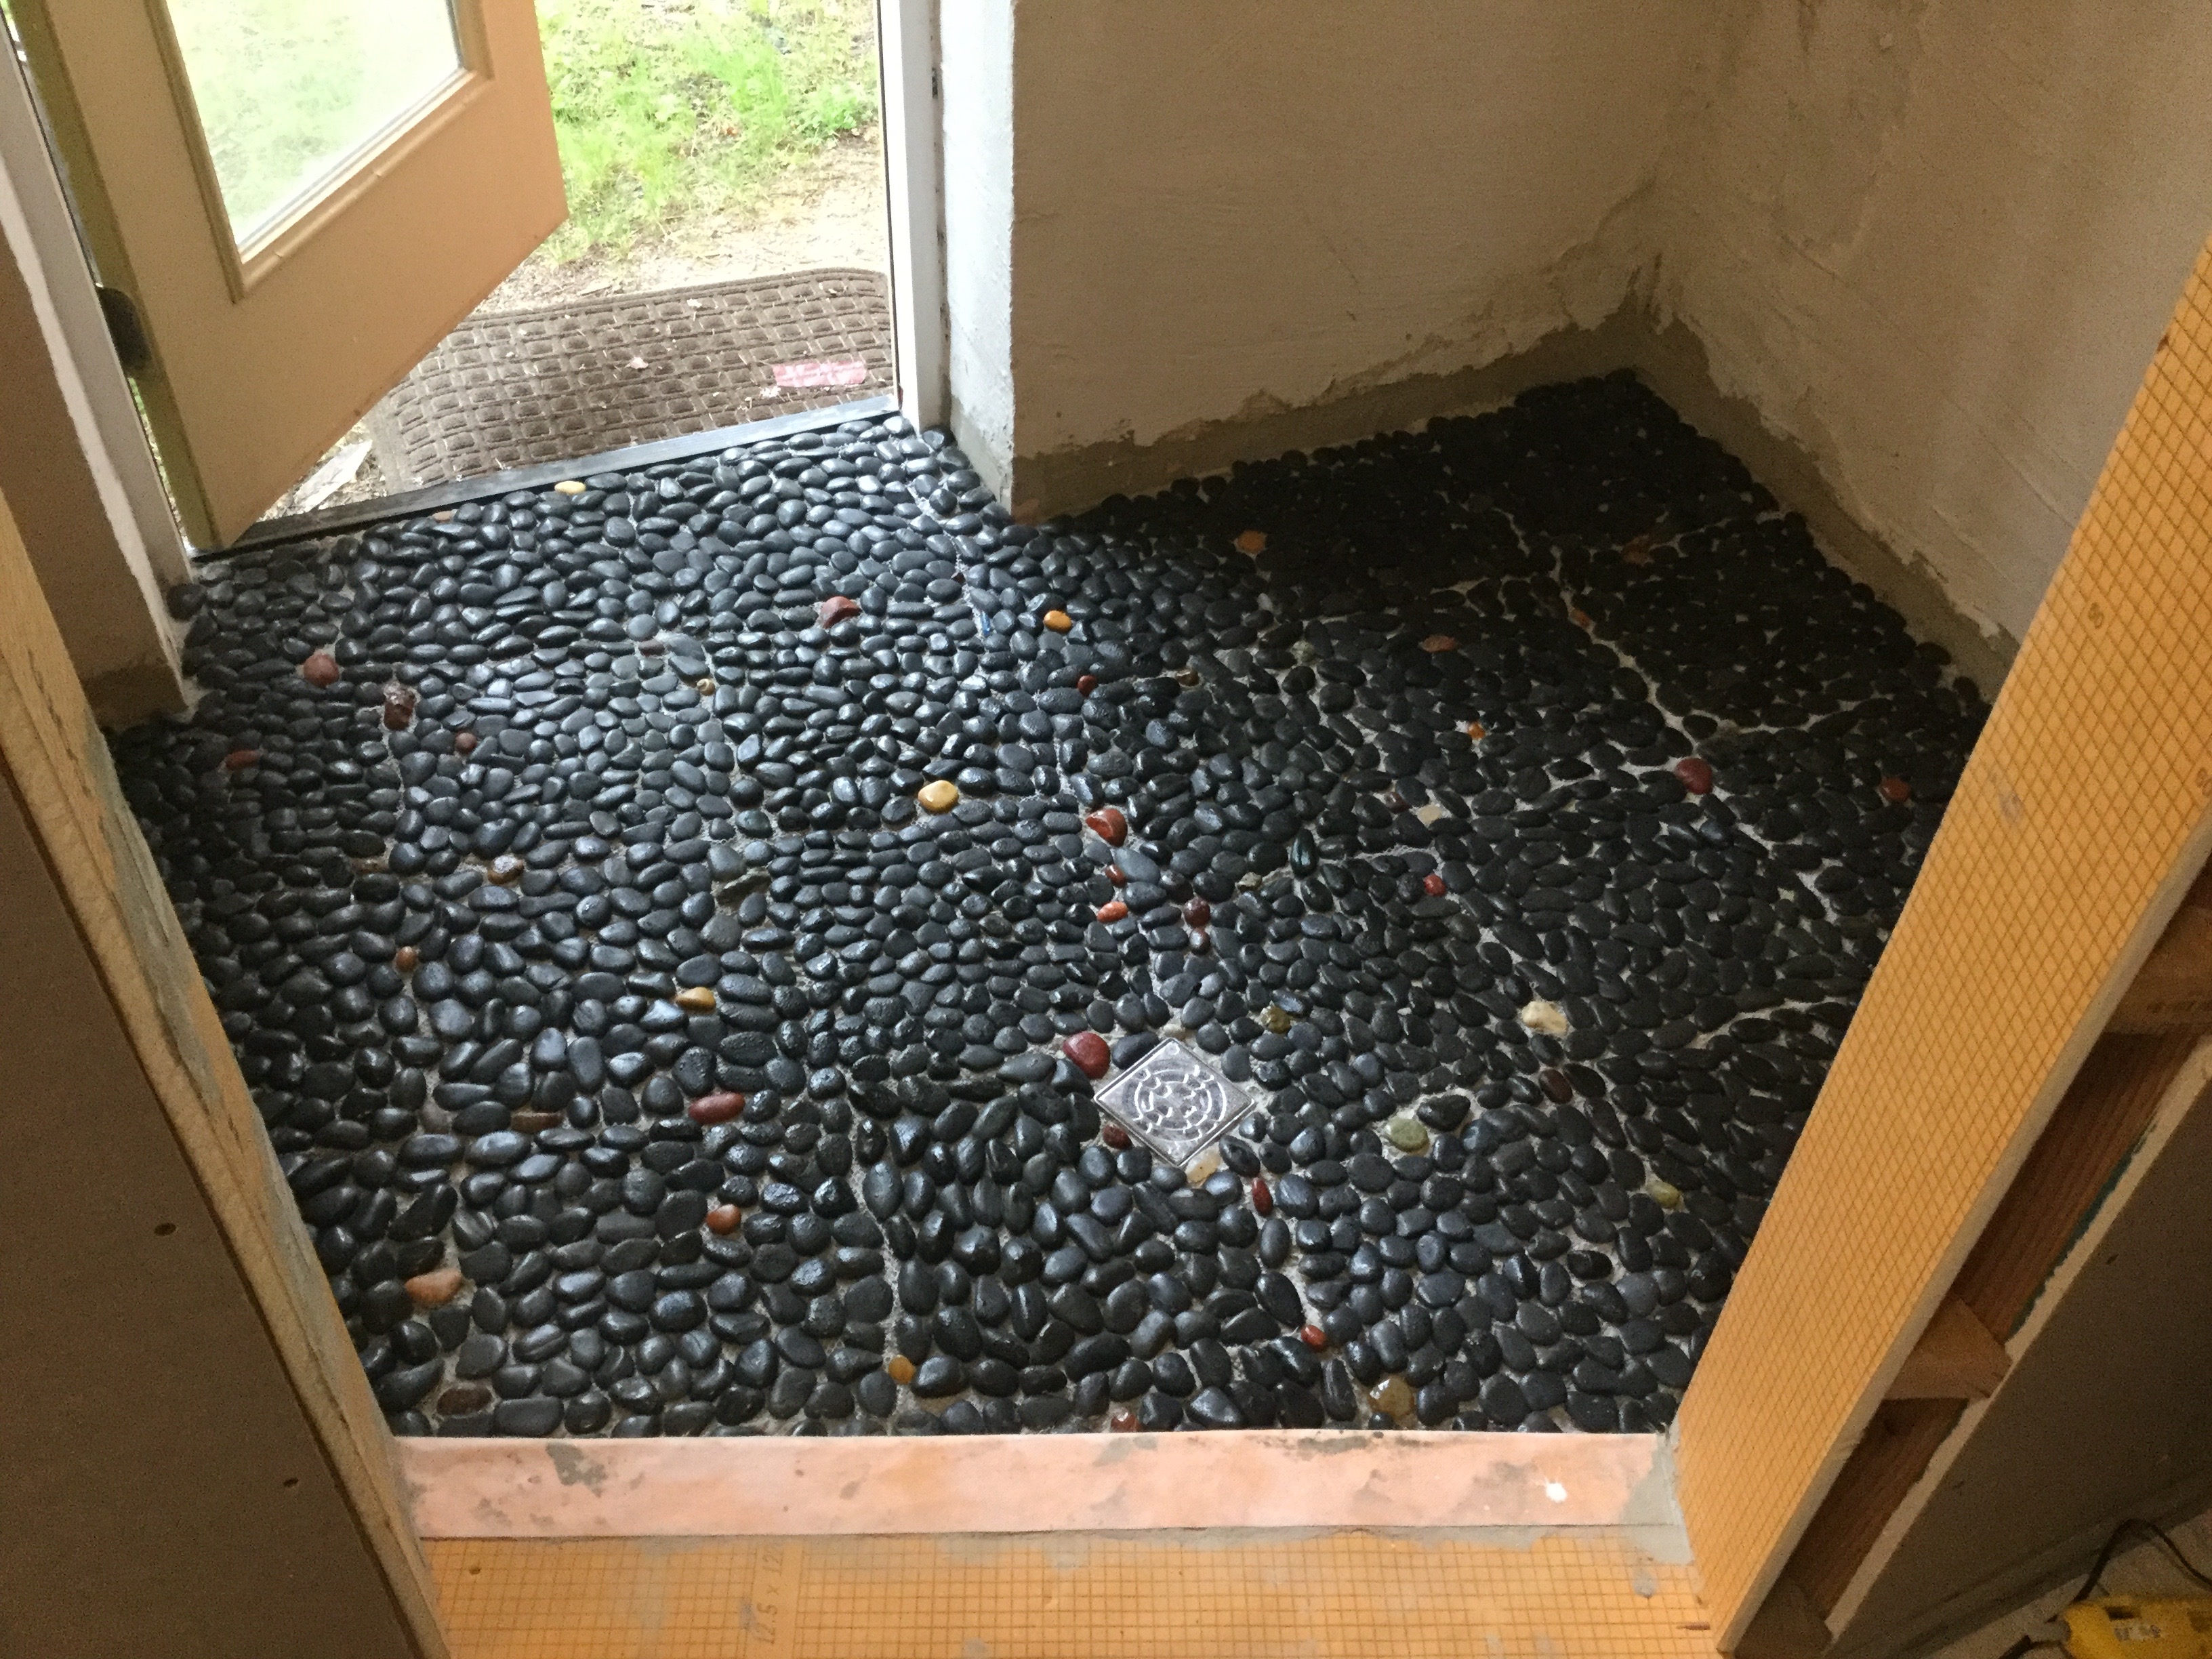 Now fill it in with grout.
  Then wipe off the excess. Et Voila! It’s a bit darker than we had planned but it turned out pretty cool. We will have more stone going up the back and side walls and tile matching the rest in the master bathroom on the other walls. (not visible in these pictures)
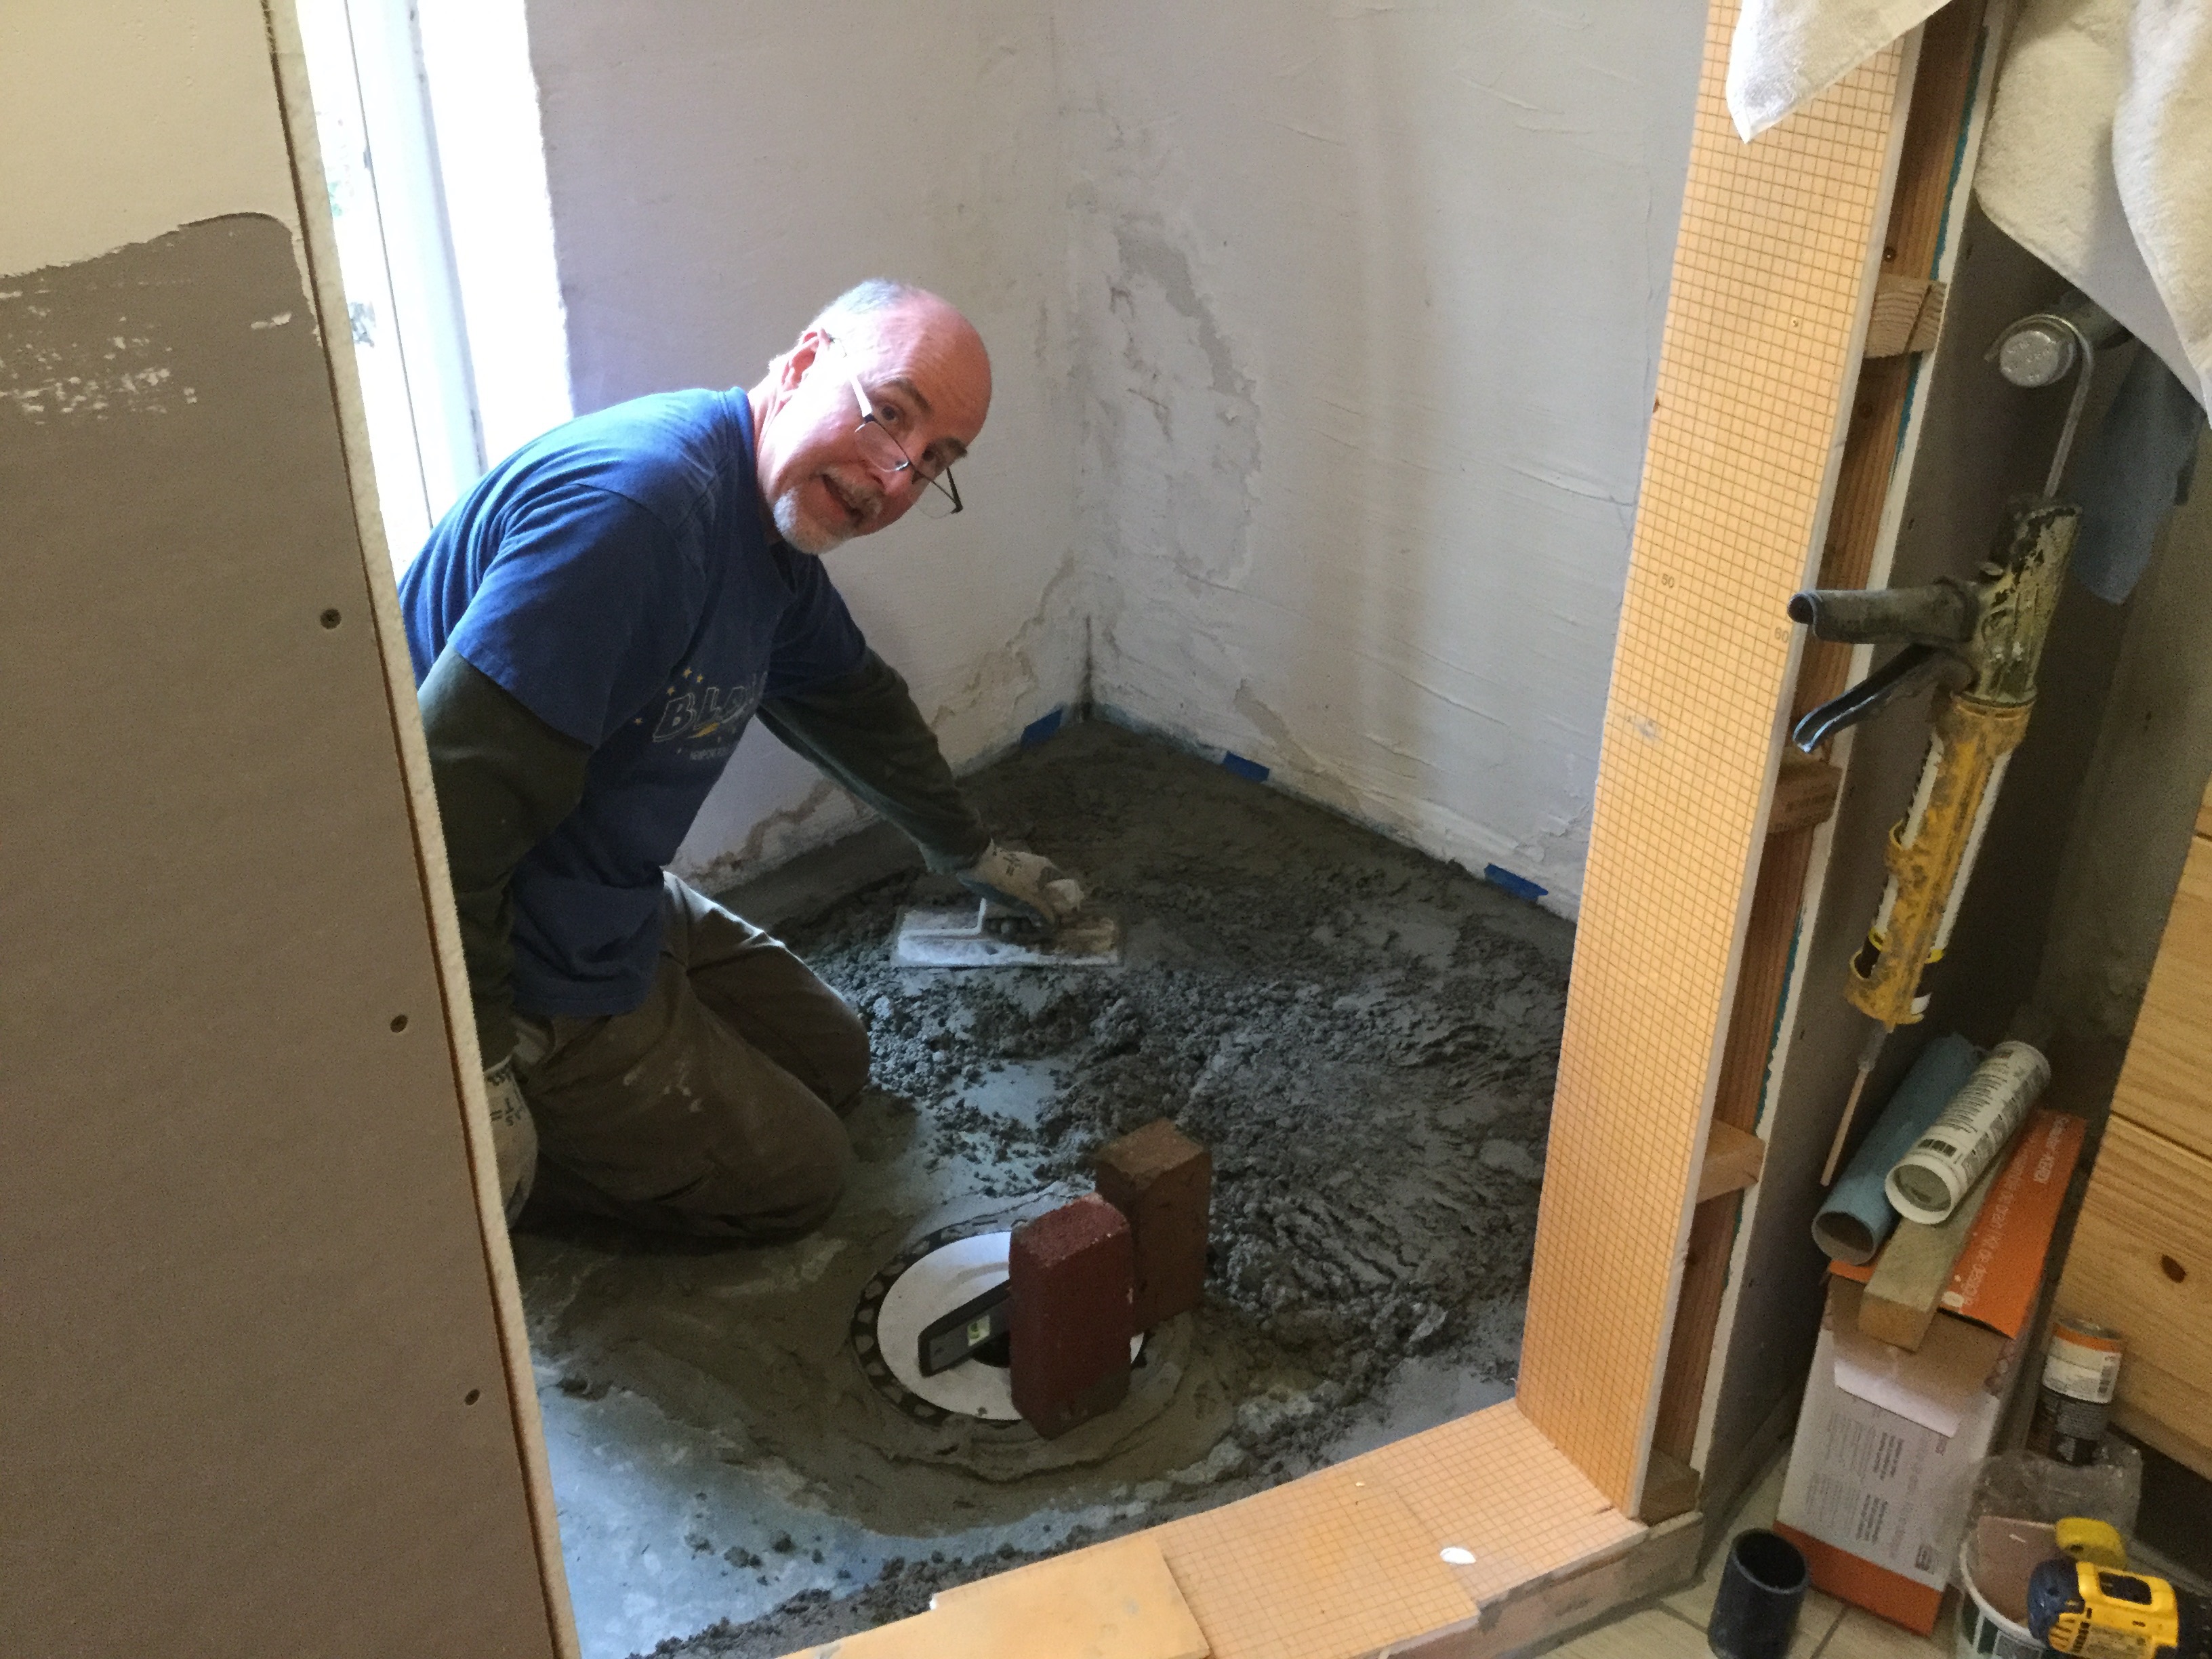
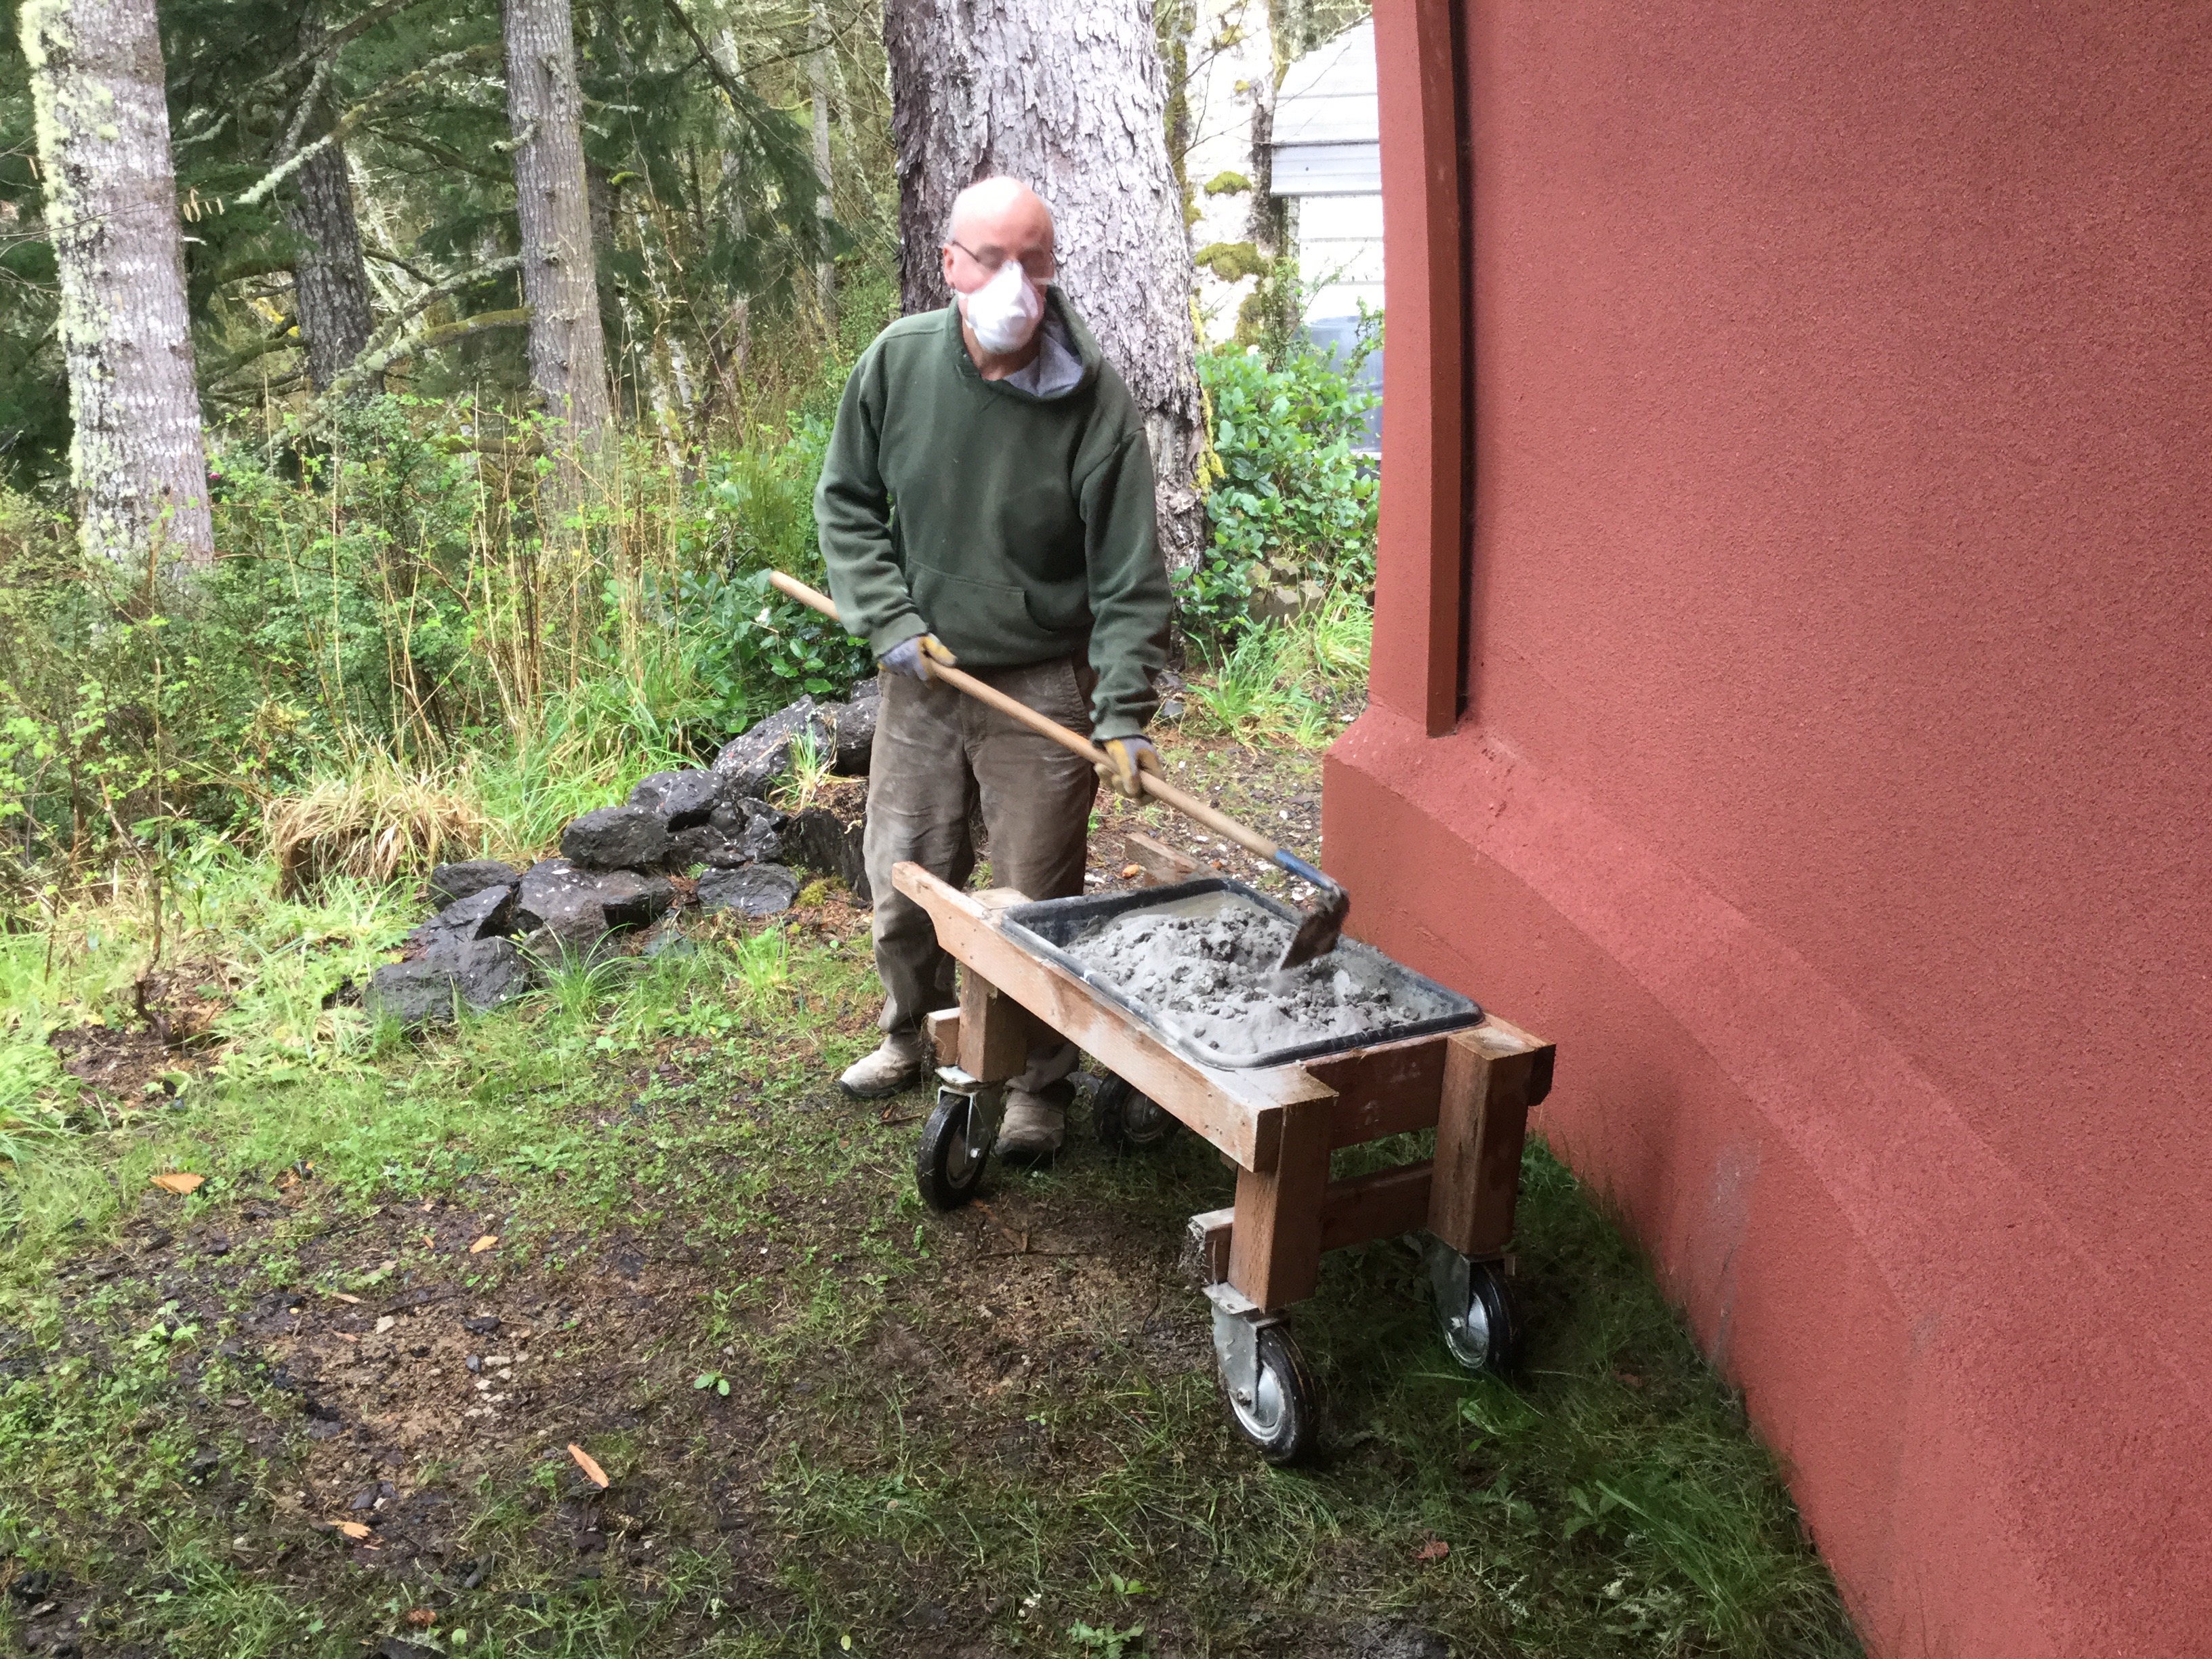
 nt as it might seem, we just can’t have a hole in the floor. so we connected the drain pipe (J-Trap) that was set in the ground before the concrete floor was poured. Then time to mix a little more concrete to fill up the hole. One of our next “steps” will be to build up a sloped mortar bed for the tile to go on.
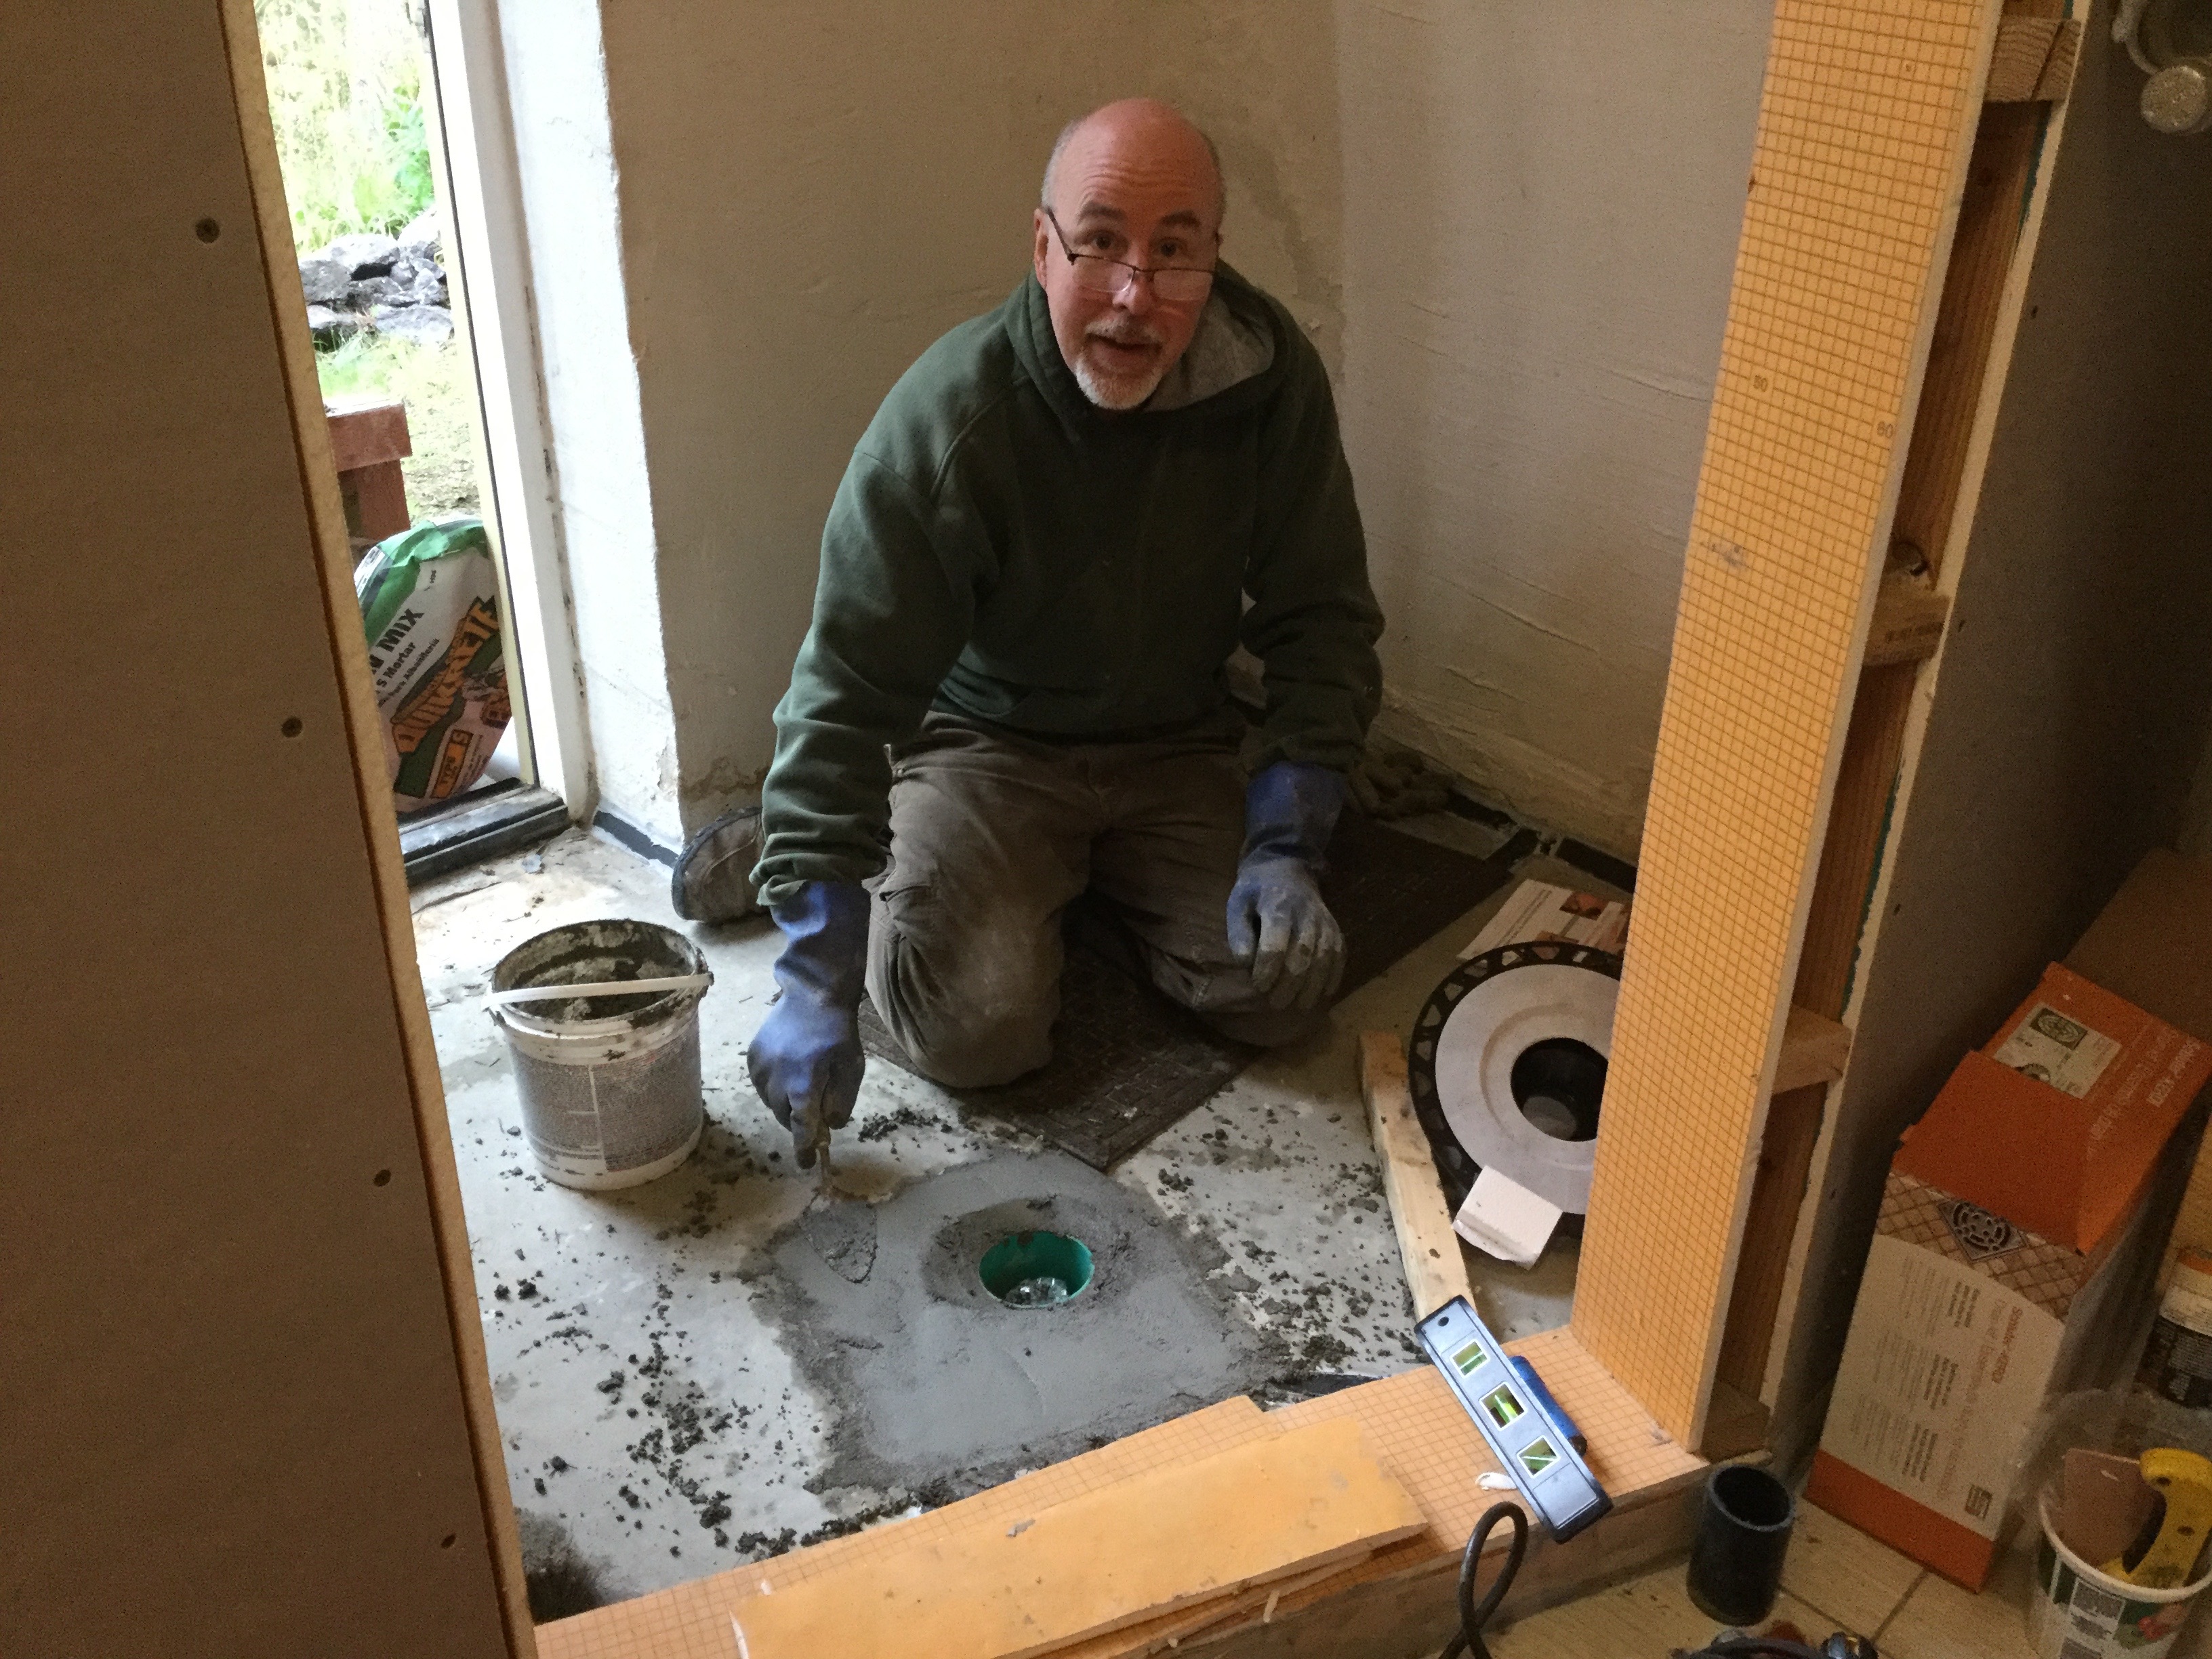


